Thursday, September 27, 2012

X's and O's Bootie Pattern


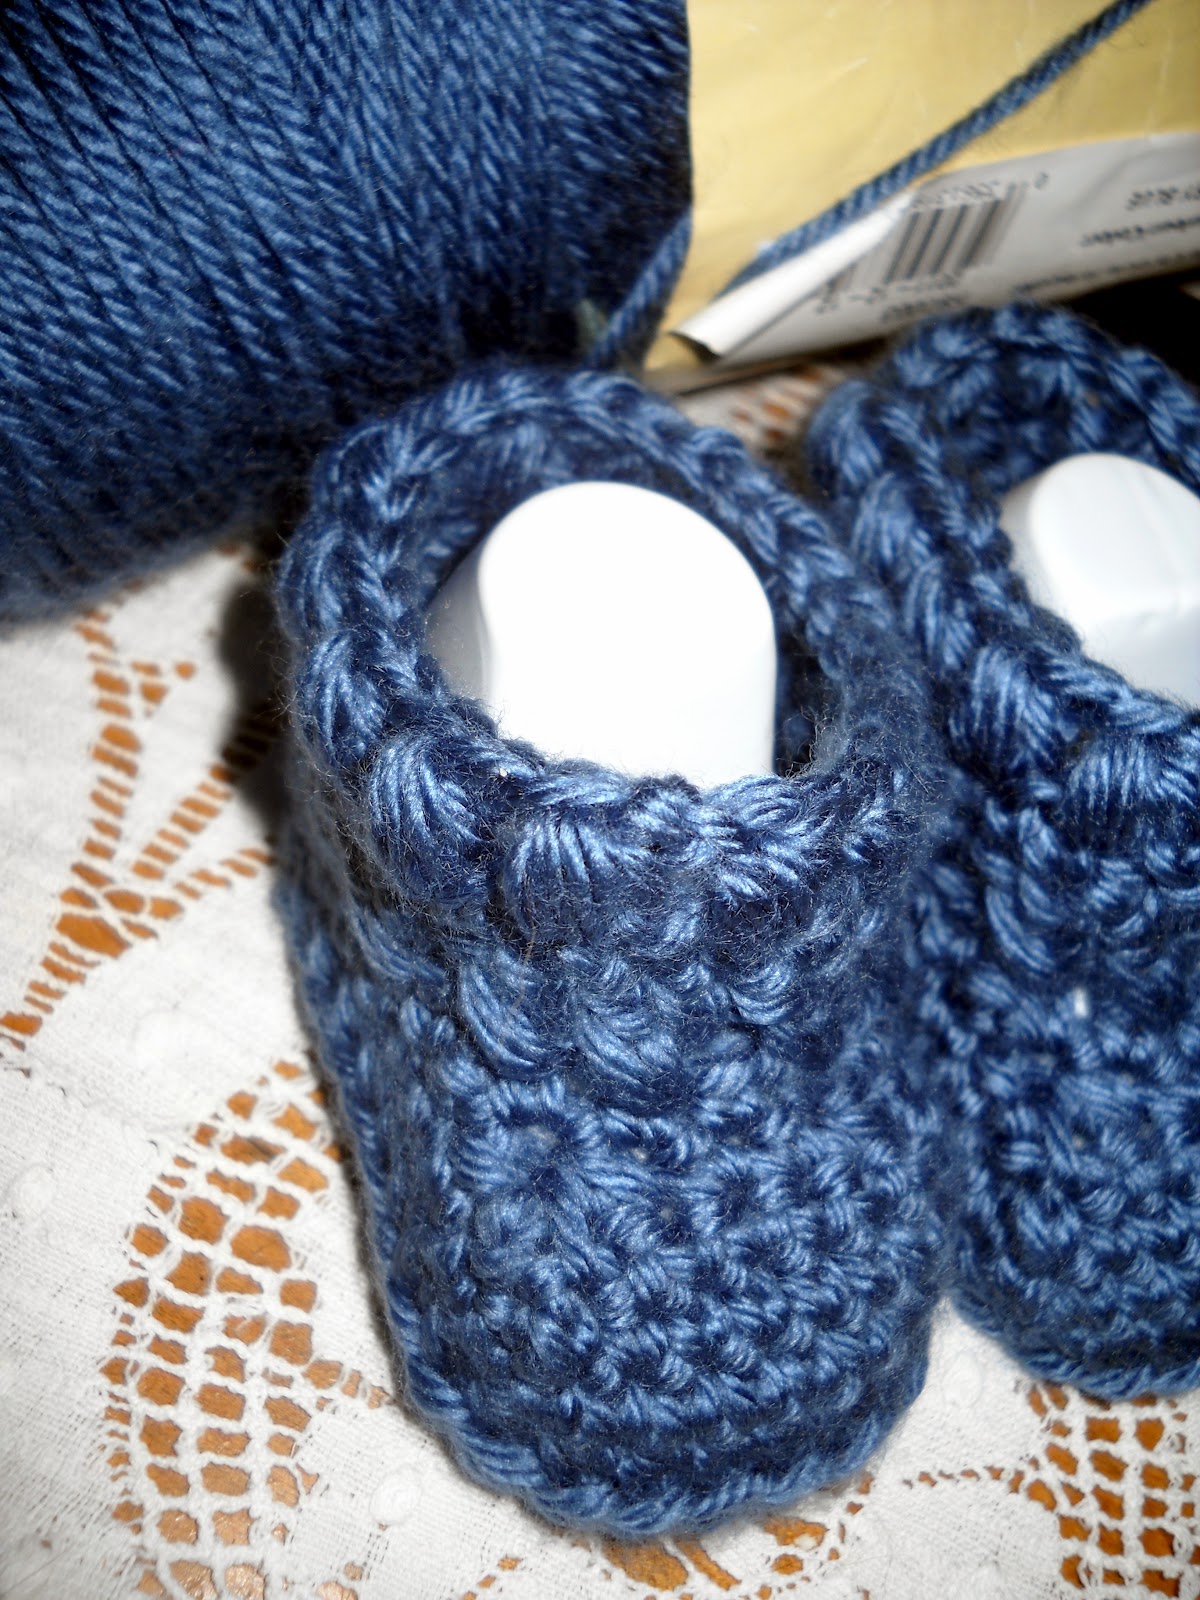
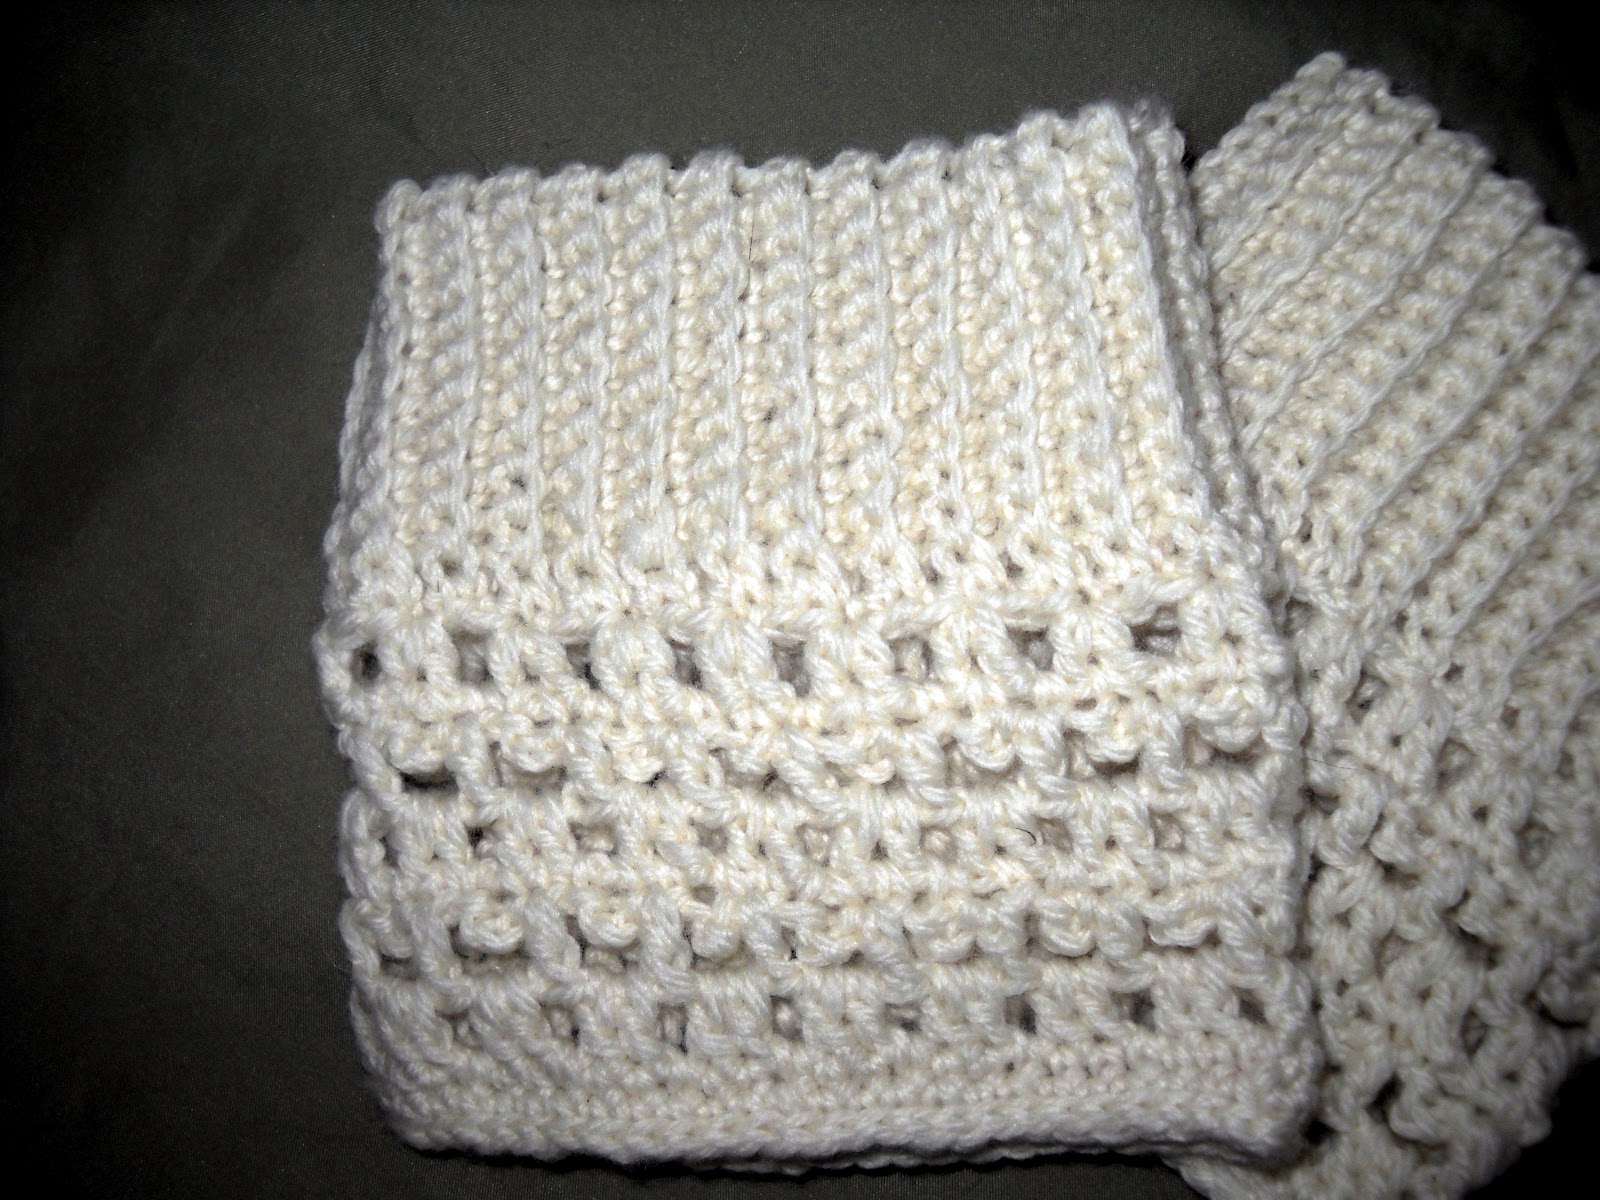
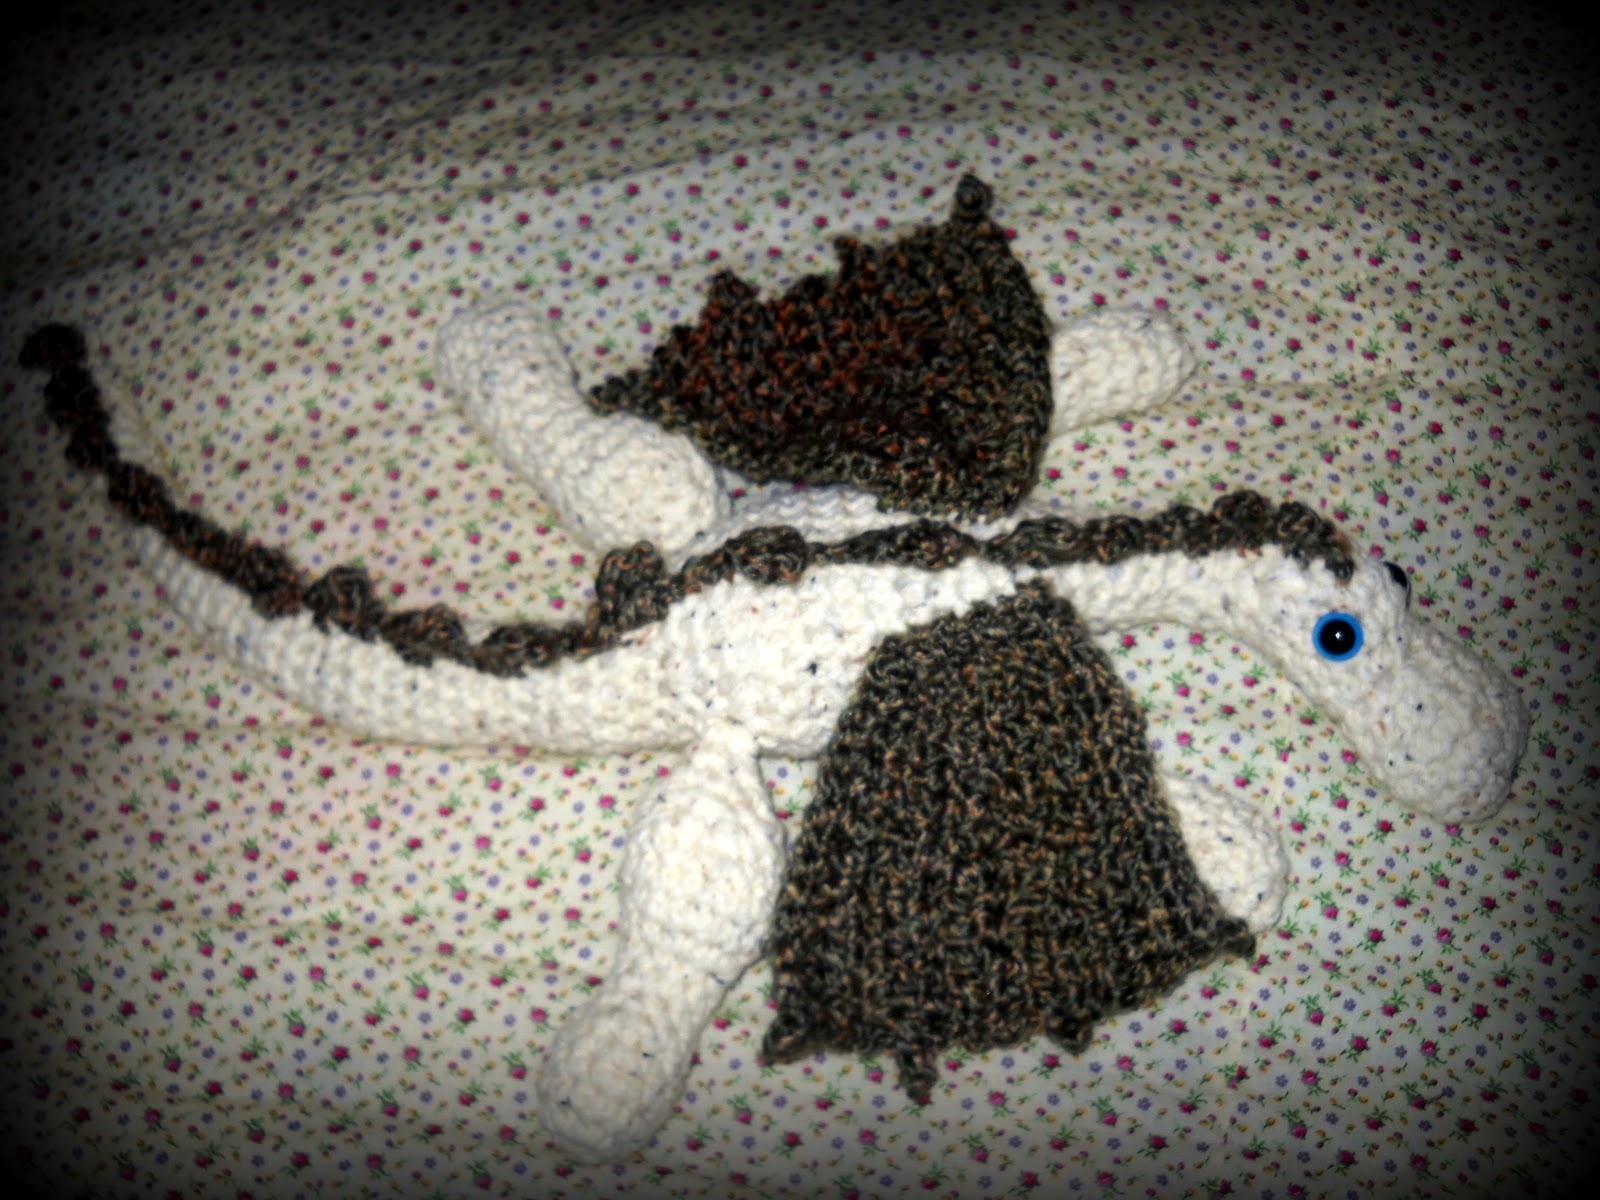
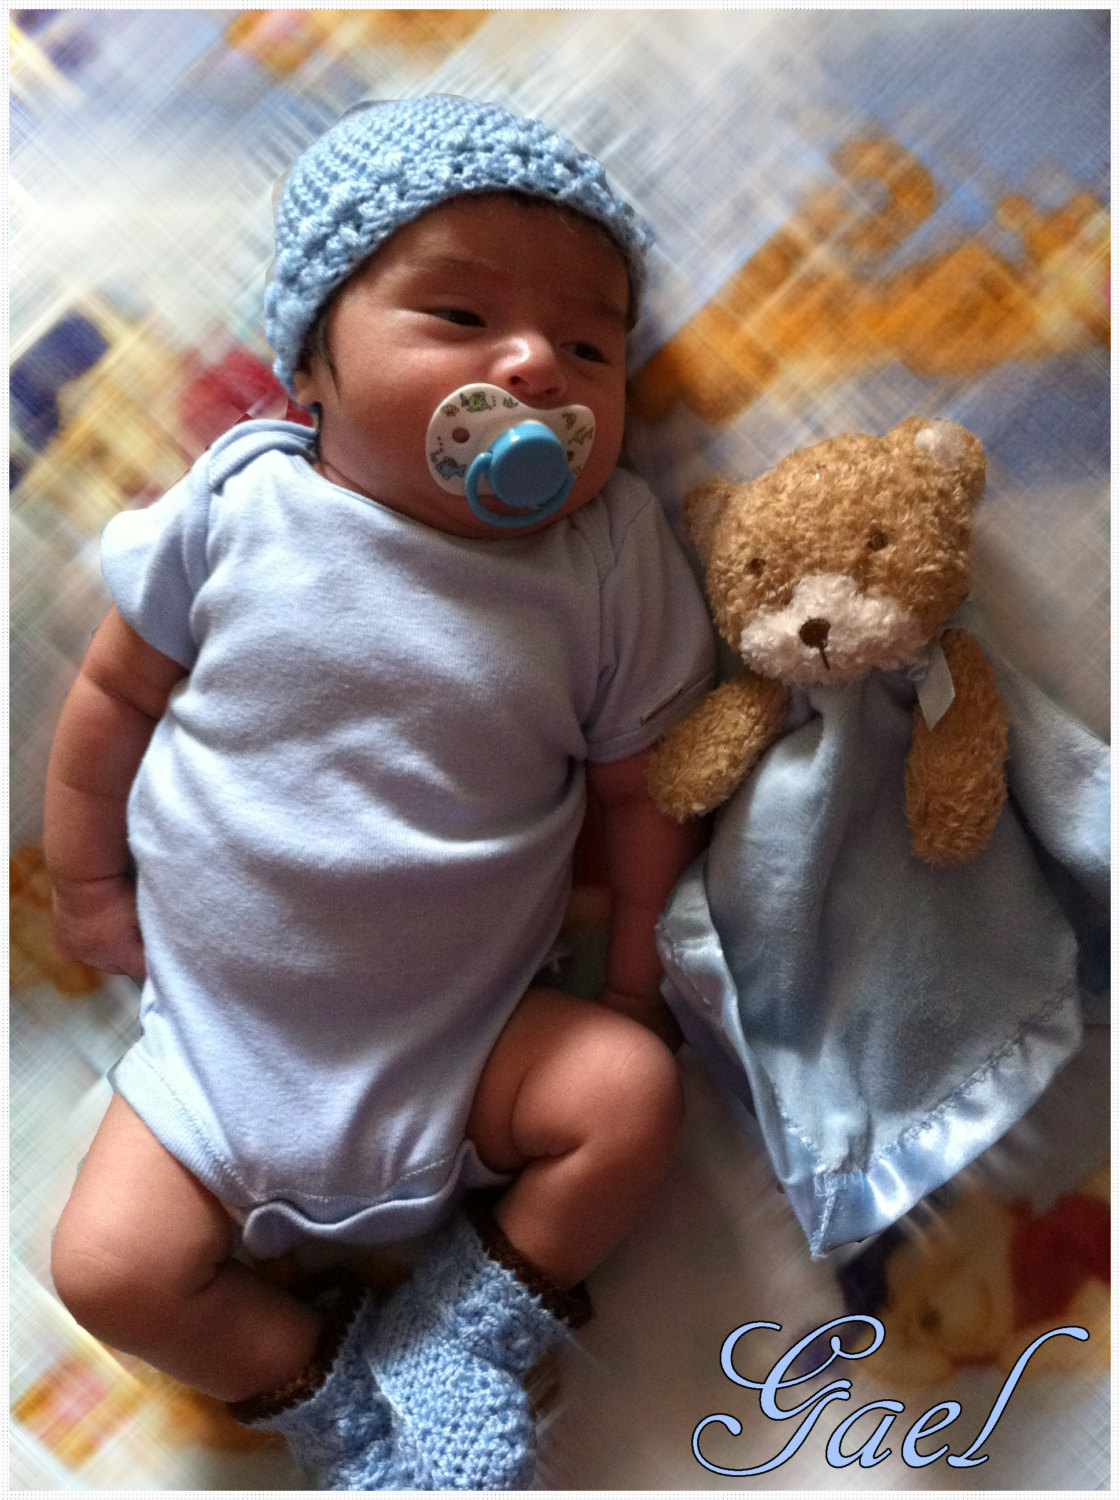
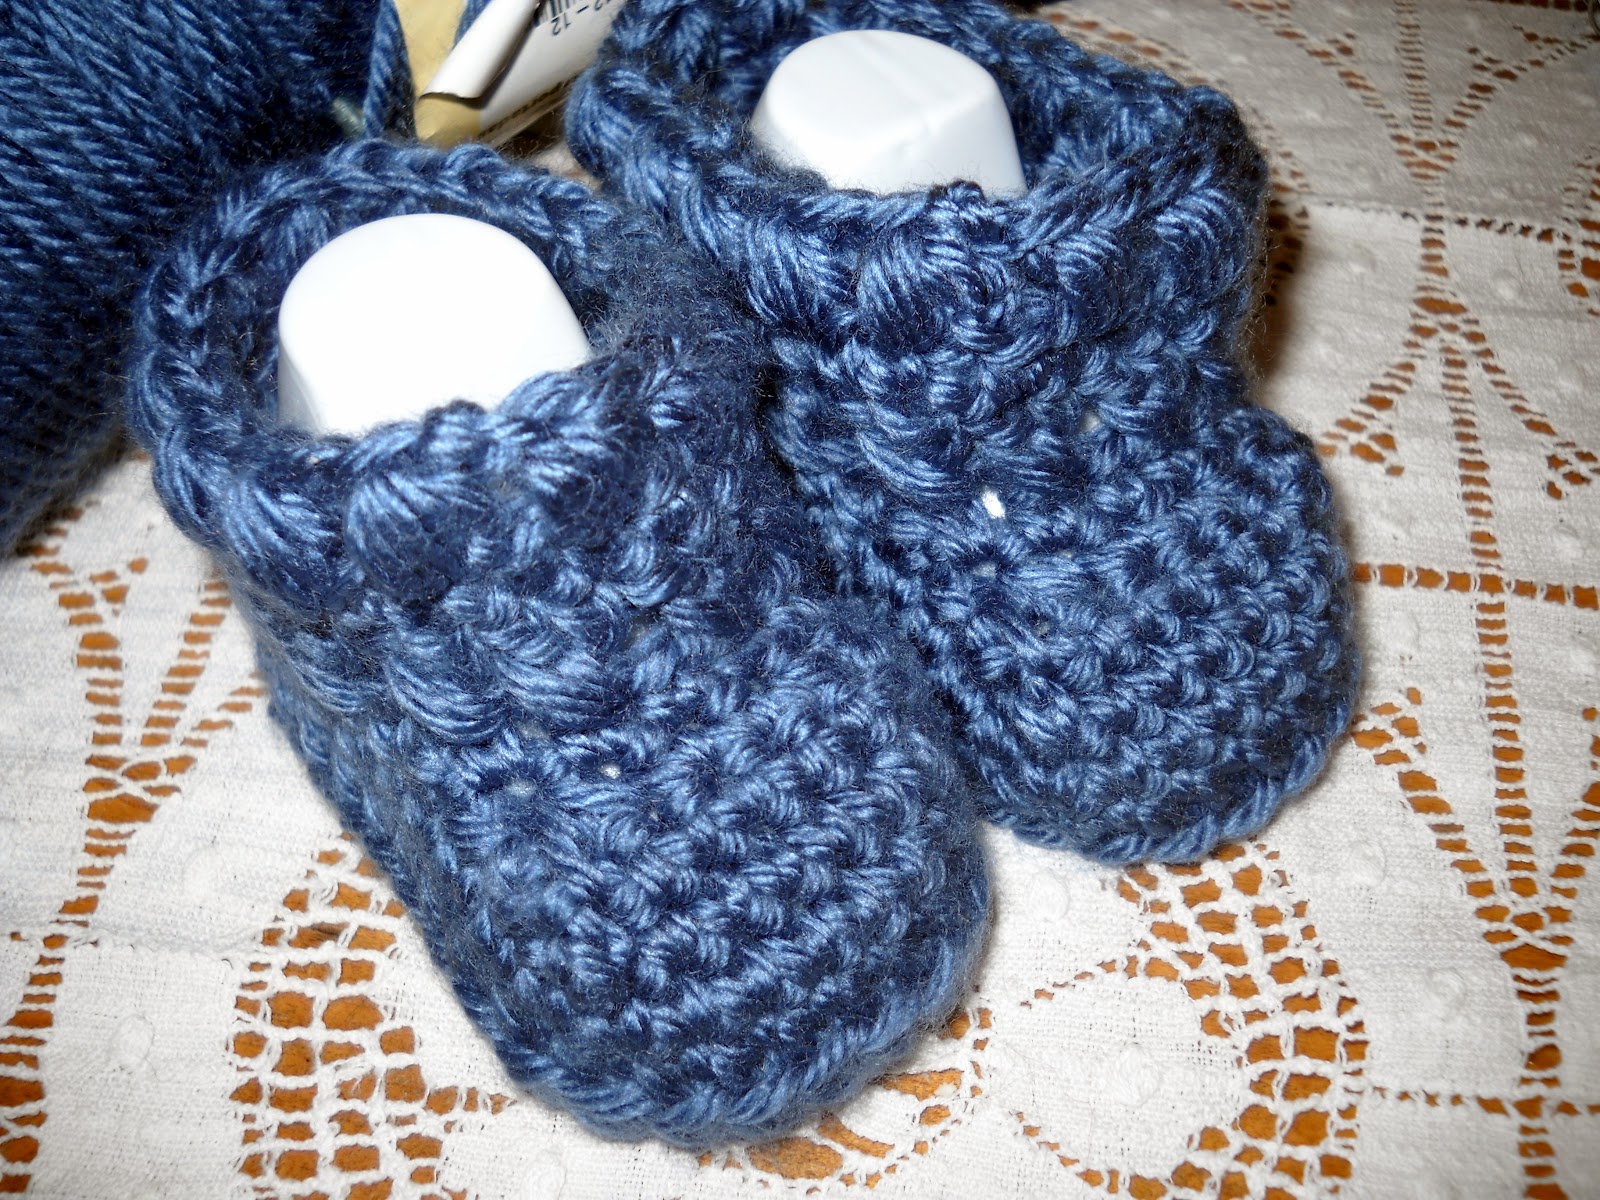
    I have been wanting to offer these for quite some time and am so happy to post this pattern! These adorable booties are the compliment to the X's and O's Infant Beanie Style Hat Pattern. If you are anything like me, you enjoy giving a set -especially one that coordinates or matches- when gifting someone or even dressing your own special bundle! 
  Just as the hat, the booties' name is inspired from the combination of the Puff Stitch Round and the Cross Stitch Round. Love the name if I do say so myself! These booties are also equally appropriate for a boy or a girl just by changing the color choices.
ENJOY!

Supplies:
   Size 0-3 Months
  • Worsted Weight Baby or equally soft Yarn in the color of your choice. I used Crochet Simply Soft
  • Size F Crochet Hook *Using a larger size hook and/or thicker yarn will increase the finished size of the booties for those wanting a larger size. 
  • Large Eye Tapestry Needle
Stitches:
SC: Single Crochet
DC: Double Crochet
SS: Slip Stitch
BLO: Back Loop Only
Puff Stitch Directions: *Yarn Over Hook and insert thru stitch. Pull up a loop and pull thru*  Repeat from * 3 more times. Yarn over and pull thru all loops on hook. Chain 1 to close. Puff Stitch Made

Directions:
 **Beginning Ch 3 counts as a DC
Ch 12
Round 1: DC in 4th chain from hook, 4 DC in same stitch, DC in next 7 chains, 5 DC in last chain. Working down opposite side of chain, DC in last 7 stitches. Join with SS in 3rd chain of beginning chain

Round 2: Ch 3, DC in same stitch, 2 DC in each of next 4 stitches, DC in next 7 stitches, 2 DC in each of next 5 stitches, DC in last 7 stitches. Join with SS in 3rd chain of beginning ch 3

Round 3: Ch 1, SC in same stitch, SC in BLO of each stitch around. Join with SS in first SC

Round 4: Ch 1, SC in same stitch and in each stitch around. Join with SS in first SC.


*You will be working back and forth across top of bootie to create toe area for the next 3 rows.
Row 5: Ch 1, SC Dec over next 2 stitches, SC in next 6 stitches, SC Dec over next 2 Stitches, SS in next 2 Stitches on previous row, TURN
Row 6: Ch 1, Skip 2 SS, SC Dec over next 2 stitches, SC in next 4 stitches, SC Dec over next 2 Stitches, SS in next 2 Stitches on previous row, 
TURN
Row/ Round 7:  Ch 1, Skip 2 SS, SC Dec over next 2 stitches, SC in next 2 stitches, SC Dec over next 2 Stitches, SS in next 2 Stitches on previous row,   DO NOT TURN
Ch 1, SC in same stitch as last SS, SC in each stitch around, Join with SS in first SC Dec

Round 8: Ch 3, DC in last SC of previous row- creating the first X Stitch, * Skip next stitch, DC in next stitch, DC in skipped stitch. Repeat from * around. Join with SS in 3rd chain of beginning ch 3.

Round 9: Ch 1, SC in each DC around. Join with SS in first SC

Round 10: Ch 1, Puff Stitch in same stitch, *Skip next stitch, Puff Stitch in next stitch. Repeat from * around. Join with SS in chain 1 closure at top of first Puff Stitch. 
Fasten Off. Weave in any loose ends

Optional: If you feel the booties need a tie to stay on better you weave a thin ribbon thru Round 4 or make a chain approx 12" long and weave it thru Round 4- make ends meet at middle front and tie in a bow.

Hope you enjoy the booties and if you have made the booties or the hat or the set I would ADORE seeing the photos! Please post them here or on the hat pattern page


Tuesday, September 25, 2012

Birthday Fun!

 I had some special birthdays last week and had a wonderful time trying to make some equally special gifts. I shared over the weekend my adventure making my niece's gift. After all was said and done she looked adorable in the dress/ top as you can see here:
I also made a super fun apron and some Boot Cuffs (PDF available) for a dear friend.

Lastly my nephews got these two super awesome Dragons!!


 I had so much fun (mostly) creating one of a kind items for the people I care for! Making gifts that are specifically designed for each person just makes it so special and very rewarding! I am looking forward to making many more special items. I would love to make a special gift for someone in your life as well

Saturday, September 22, 2012

My Personal Pinstrosity!!

     So about 2 weeks ago I stumbled upon a very real and very humorous blog called Pinstrosity. It is a compilation of all the attempts folks have made trying to replicate DIY projects from Pinterest. I didn't realize how many failed and funny results were out there as I, along with those who have posted on Pinstrosity, thought-think that the instructions given are going to be full proof! Wrong!!!
    Well fast forward and less then 2 weeks later I have my own personal Pinstrosity to share :(
    It all began with a gorgeous little dress than I had pinned and planned to make for my niece for her birthday. I should have seen the warning signs when I went to the website to get the instructions and all the photos were missing. Now I must say the missing photos were no fault of the Blog owner- she had recently, somehow, lost ALL her photos on her blog and was undergoing the daunting task of trying to replace them all. UGH I can't imagine the stress of that process! 
    I felt quite confident that I could still make the dress sans photos as I am a moderately skilled sewer and so off I went. I cut out all the random pieces in the correct measurements and was even able to manage cutting out an off center skirt :p But the minute I started actually sewing everything went to ^&*&^^%$$# 
    I sewed the bodice together the wrong way three times and had to rip it out after every fail. I finally got it together the correct way but then the halter straps did not line up the way they should have. I then discovered I had to "shir" the back of bodice which I had never done but I learned and it actually wasn't bad except I did the shirring on the wrong side of the fabric! The shirring was also not tight enough to make the back fit right. Heavy Sigh!
    The skirt part ended up being much too short to be a dress even with the ruffle attached and the back hung open and so I decided that if I added the gathered sides it would pull the "dress" up too high to even be a decent top. Instead I added some wide ties and created a double back bow to help pull in the excess fabric in hopes that it will actually fit my petite niece. 
     A significant part of the problems I had were the lack of photos. For example, even though I used her pattern template my bodice looks nothing like hers. When you are working with no pattern and someone else's ideas it isn't easy to mesh the two without visuals. Store bought patterns always combine written instructions with pictures-- know why?? I sure do (now)
     The dress/top wasn't a total loss though and my niece is still getting it. It actually is quite pretty but bears little resemblance to the original pattern I based it on :(
    I now consider my a full fledged member of Pinstrosity and have the mental battle wounds to prove it!


Friday, September 14, 2012

Couldn't Wait

   Just a quick post to share the sweetest picture from one of my customers showing off her brand new baby boy wearing a custom order!! I am so blessed for her and her family on their new addition and adore the way the hat and booties look on him!! Thanks again Guiselle for sharing and can't wait to see him in the other items as he grows!!