Thursday, September 27, 2012

X's and O's Bootie Pattern


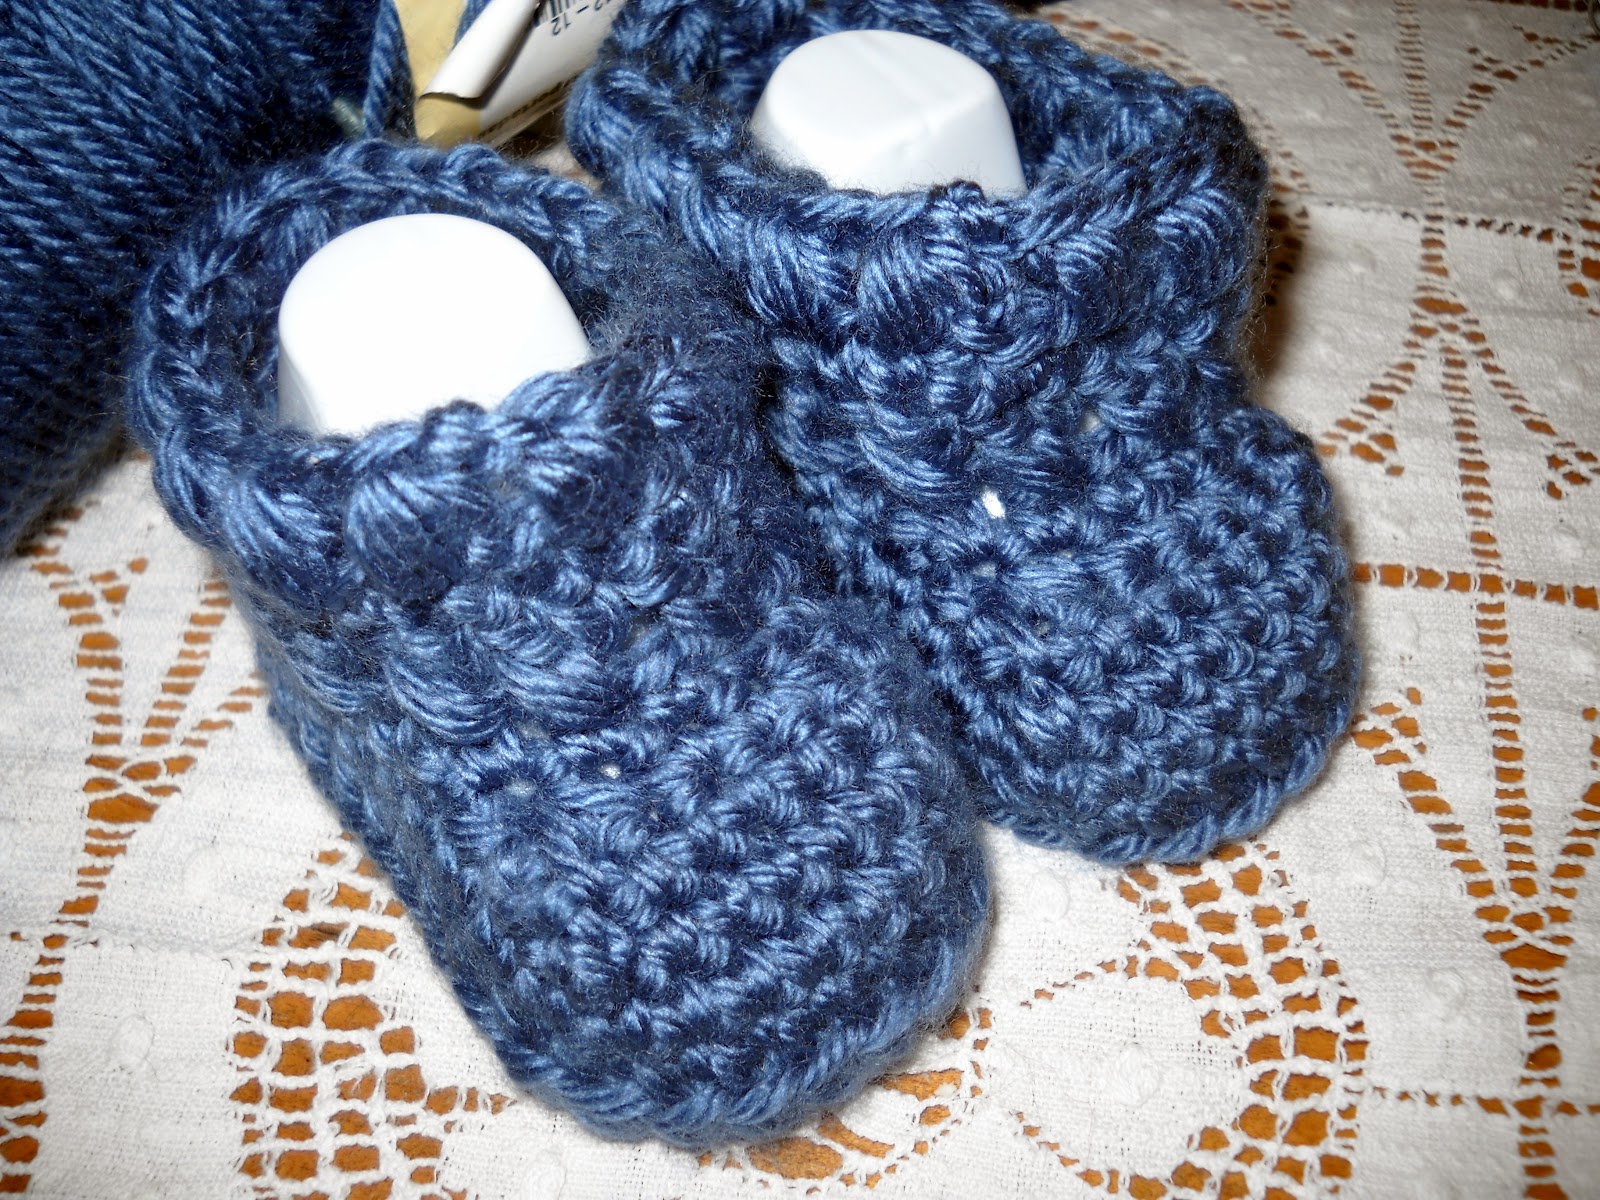
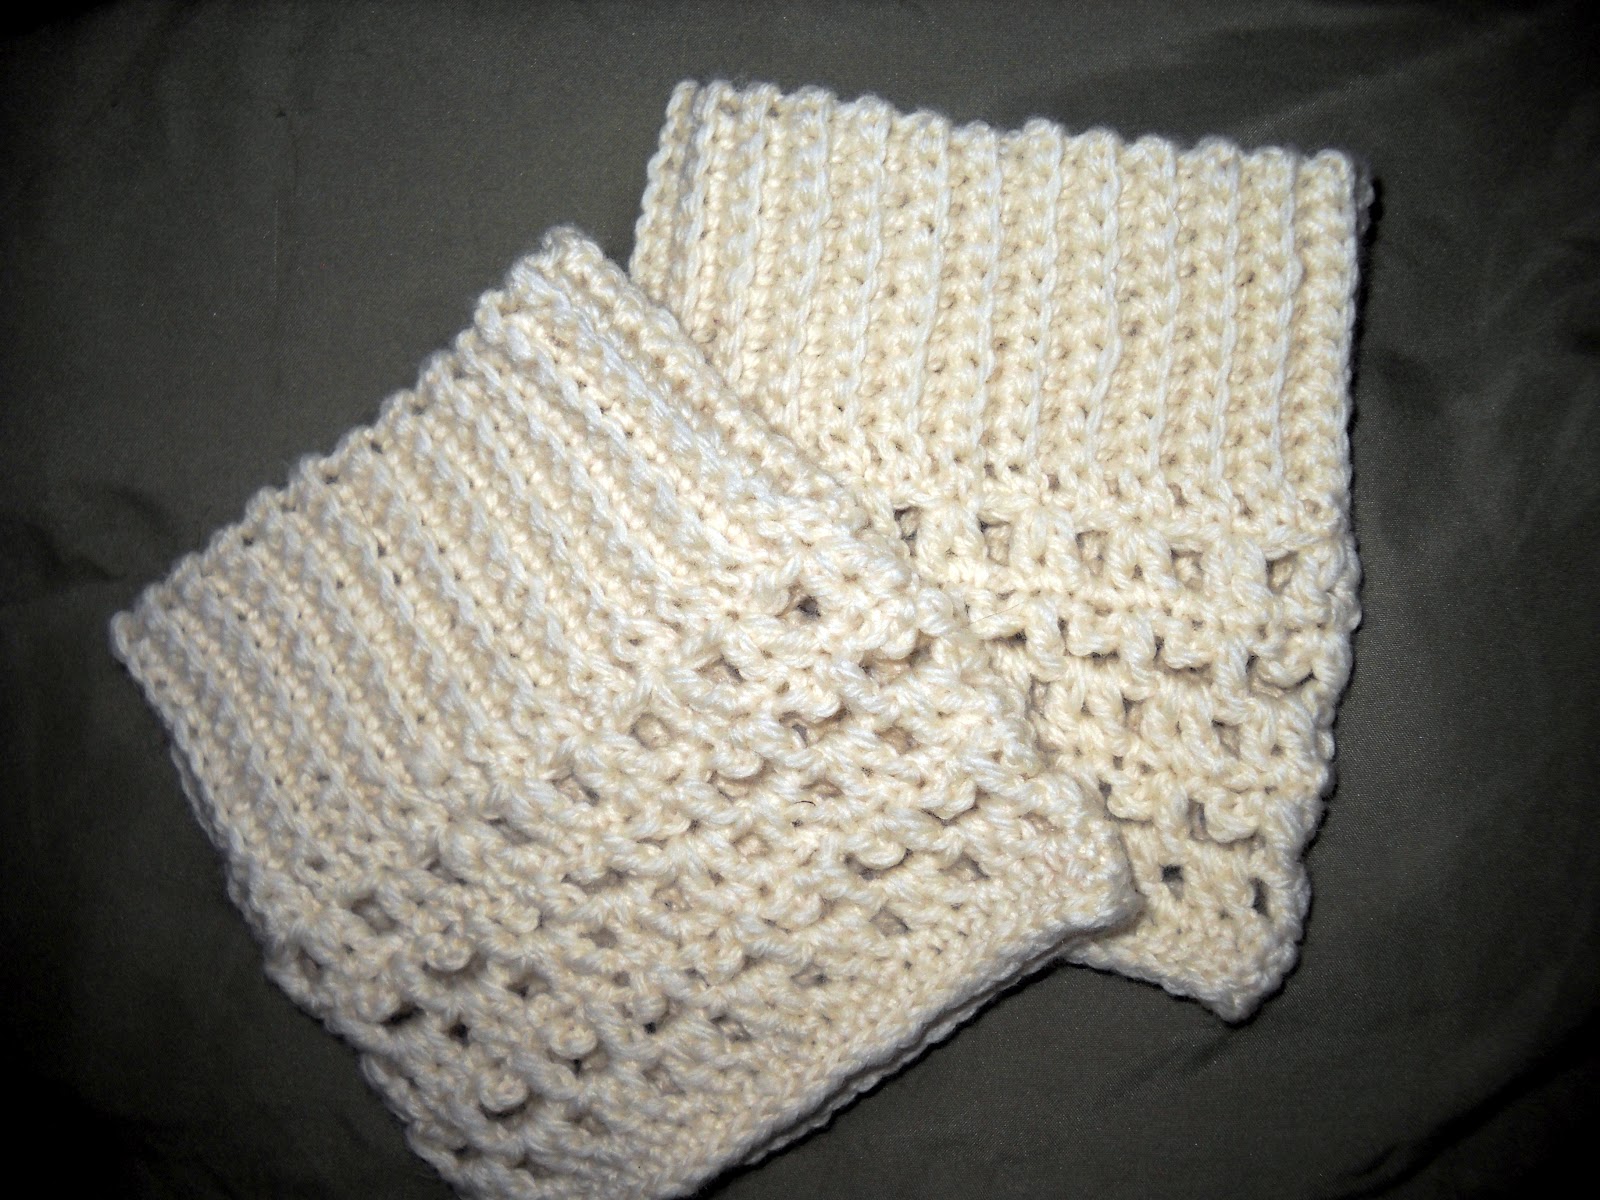
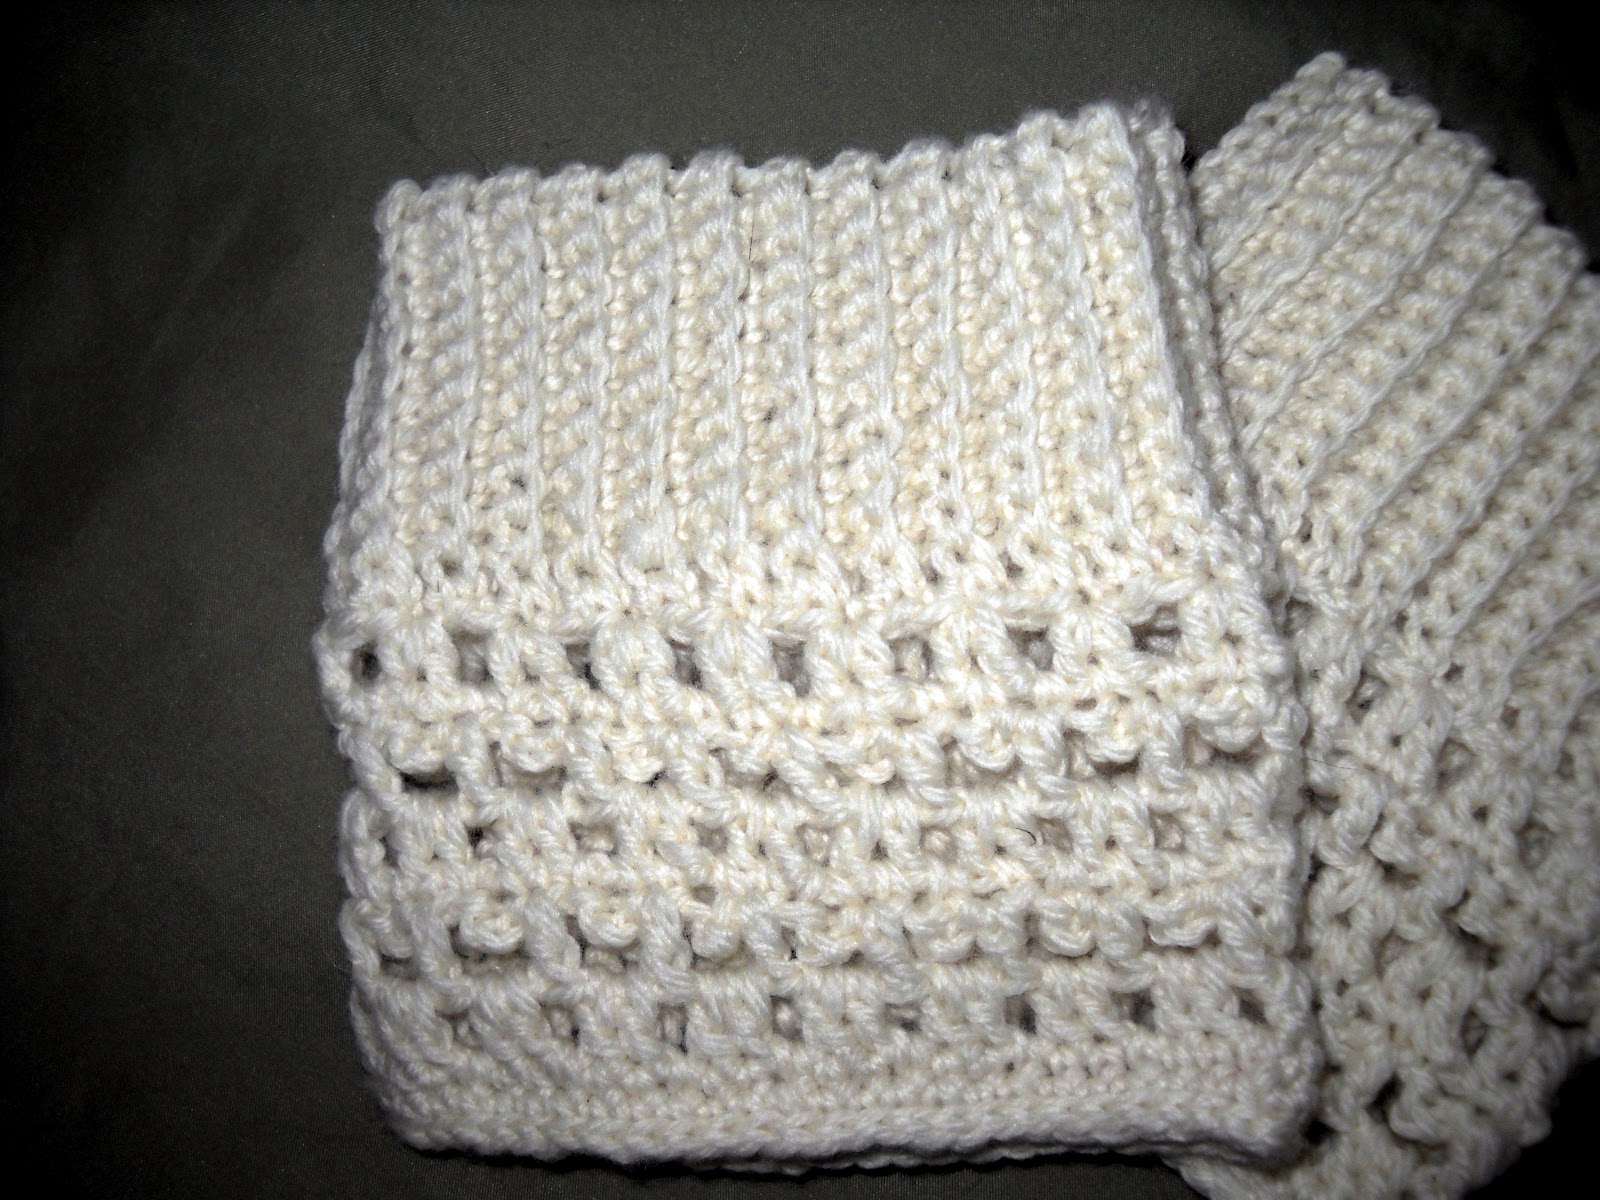
    I have been wanting to offer these for quite some time and am so happy to post this pattern! These adorable booties are the compliment to the X's and O's Infant Beanie Style Hat Pattern. If you are anything like me, you enjoy giving a set -especially one that coordinates or matches- when gifting someone or even dressing your own special bundle! 
  Just as the hat, the booties' name is inspired from the combination of the Puff Stitch Round and the Cross Stitch Round. Love the name if I do say so myself! These booties are also equally appropriate for a boy or a girl just by changing the color choices.
ENJOY!

Supplies:
   Size 0-3 Months
  • Worsted Weight Baby or equally soft Yarn in the color of your choice. I used Crochet Simply Soft
  • Size F Crochet Hook *Using a larger size hook and/or thicker yarn will increase the finished size of the booties for those wanting a larger size. 
  • Large Eye Tapestry Needle
Stitches:
SC: Single Crochet
DC: Double Crochet
SS: Slip Stitch
BLO: Back Loop Only
Puff Stitch Directions: *Yarn Over Hook and insert thru stitch. Pull up a loop and pull thru*  Repeat from * 3 more times. Yarn over and pull thru all loops on hook. Chain 1 to close. Puff Stitch Made
Directions:
 **Beginning Ch 3 counts as a DC
Ch 12
Round 1: DC in 4th chain from hook, 4 DC in same stitch, DC in next 7 chains, 5 DC in last chain. Working down opposite side of chain, DC in last 7 stitches. Join with SS in 3rd chain of beginning chain

Round 2: Ch 3, DC in same stitch, 2 DC in each of next 4 stitches, DC in next 7 stitches, 2 DC in each of next 5 stitches, DC in last 7 stitches. Join with SS in 3rd chain of beginning ch 3

Round 3: Ch 1, SC in same stitch, SC in BLO of each stitch around. Join with SS in first SC

Round 4: Ch 1, SC in same stitch and in each stitch around. Join with SS in first SC.


*You will be working back and forth across top of bootie to create toe area for the next 3 rows.
Row 5: Ch 1, SC Dec over next 2 stitches, SC in next 6 stitches, SC Dec over next 2 Stitches, SS in next 2 Stitches on previous row, TURN
Row 6: Ch 1, Skip 2 SS, SC Dec over next 2 stitches, SC in next 4 stitches, SC Dec over next 2 Stitches, SS in next 2 Stitches on previous row, 
TURN
Row/ Round 7:  Ch 1, Skip 2 SS, SC Dec over next 2 stitches, SC in next 2 stitches, SC Dec over next 2 Stitches, SS in next 2 Stitches on previous row,   DO NOT TURN
Ch 1, SC in same stitch as last SS, SC in each stitch around, Join with SS in first SC Dec

Round 8: Ch 3, DC in last SC of previous row- creating the first X Stitch, * Skip next stitch, DC in next stitch, DC in skipped stitch. Repeat from * around. Join with SS in 3rd chain of beginning ch 3.

Round 9: Ch 1, SC in each DC around. Join with SS in first SC

Round 10: Ch 1, Puff Stitch in same stitch, *Skip next stitch, Puff Stitch in next stitch. Repeat from * around. Join with SS in chain 1 closure at top of first Puff Stitch. 
Fasten Off. Weave in any loose ends

Optional: If you feel the booties need a tie to stay on better you weave a thin ribbon thru Round 4 or make a chain approx 12" long and weave it thru Round 4- make ends meet at middle front and tie in a bow.
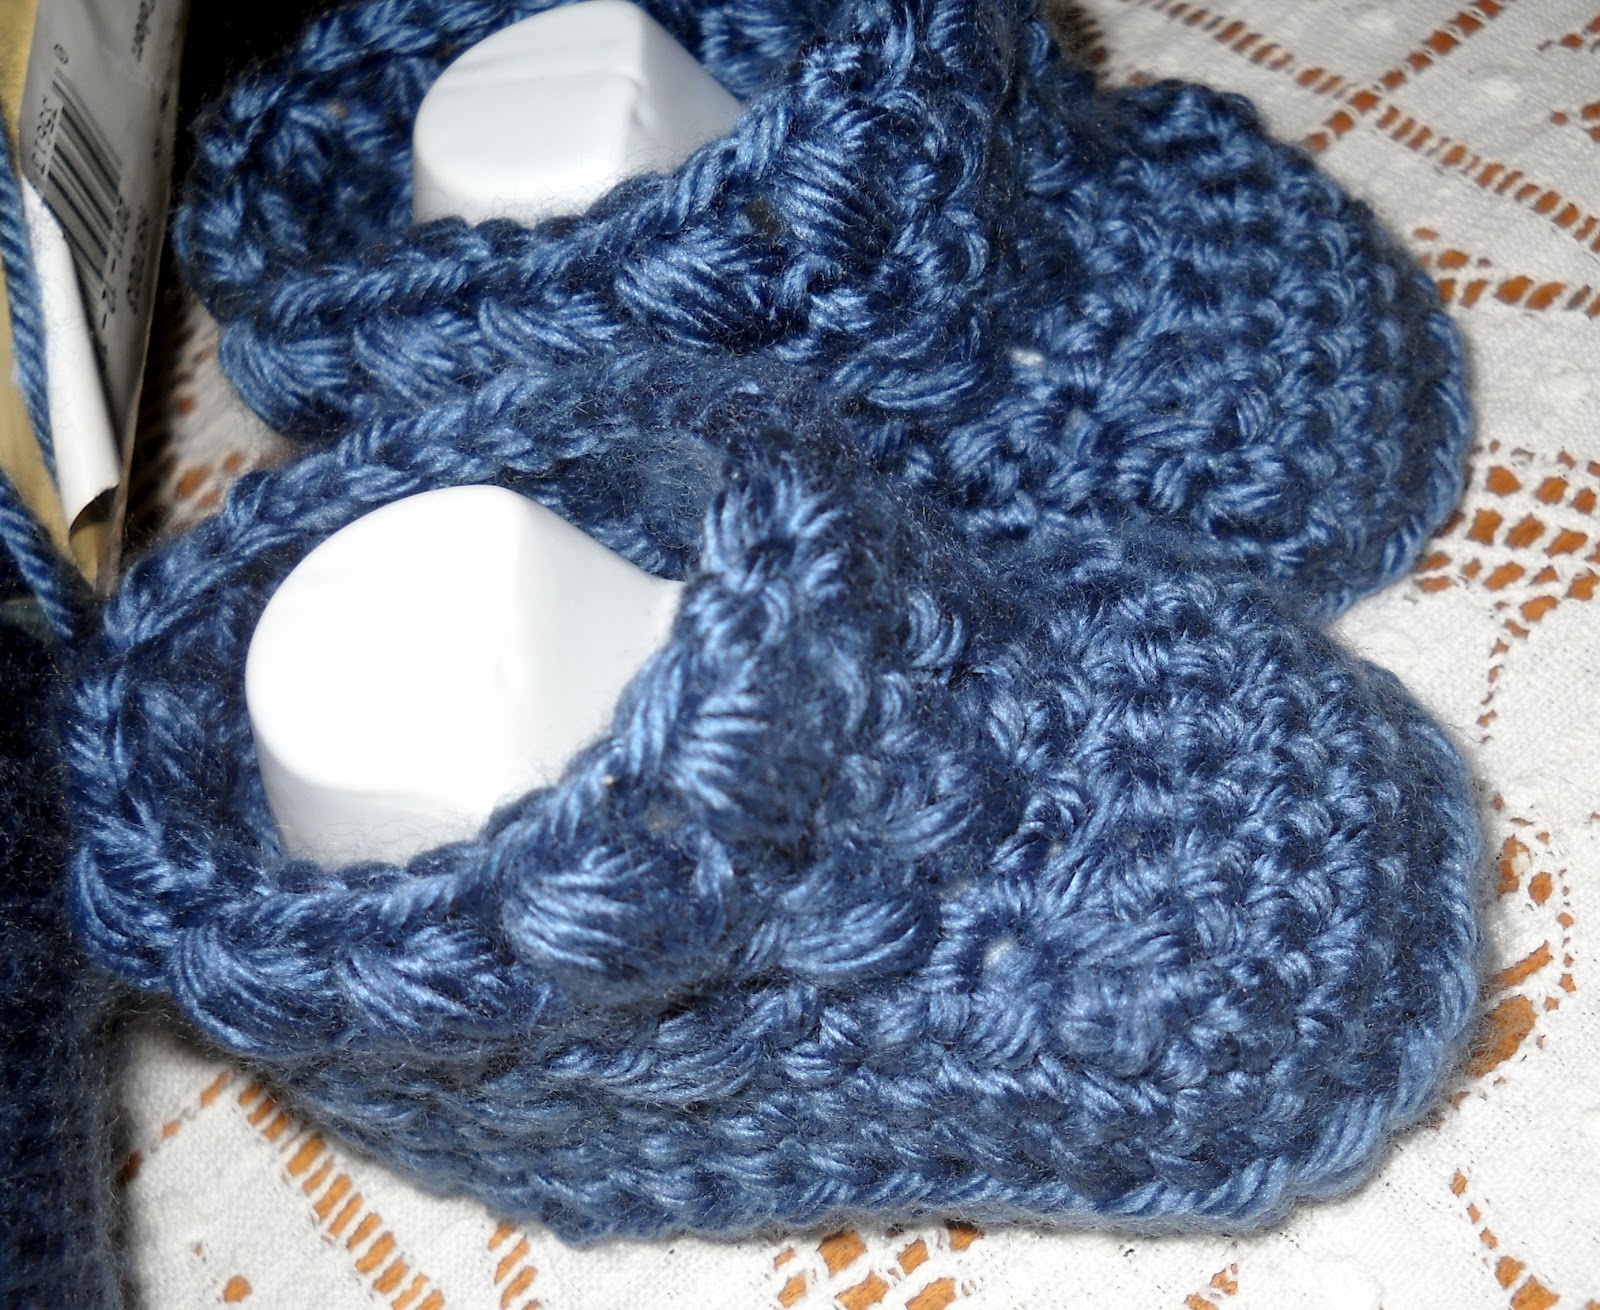
Hope you enjoy the booties and if you have made the booties or the hat or the set I would ADORE seeing the photos! Please post them here or on the hat pattern page
Tuesday, September 25, 2012

Birthday Fun!

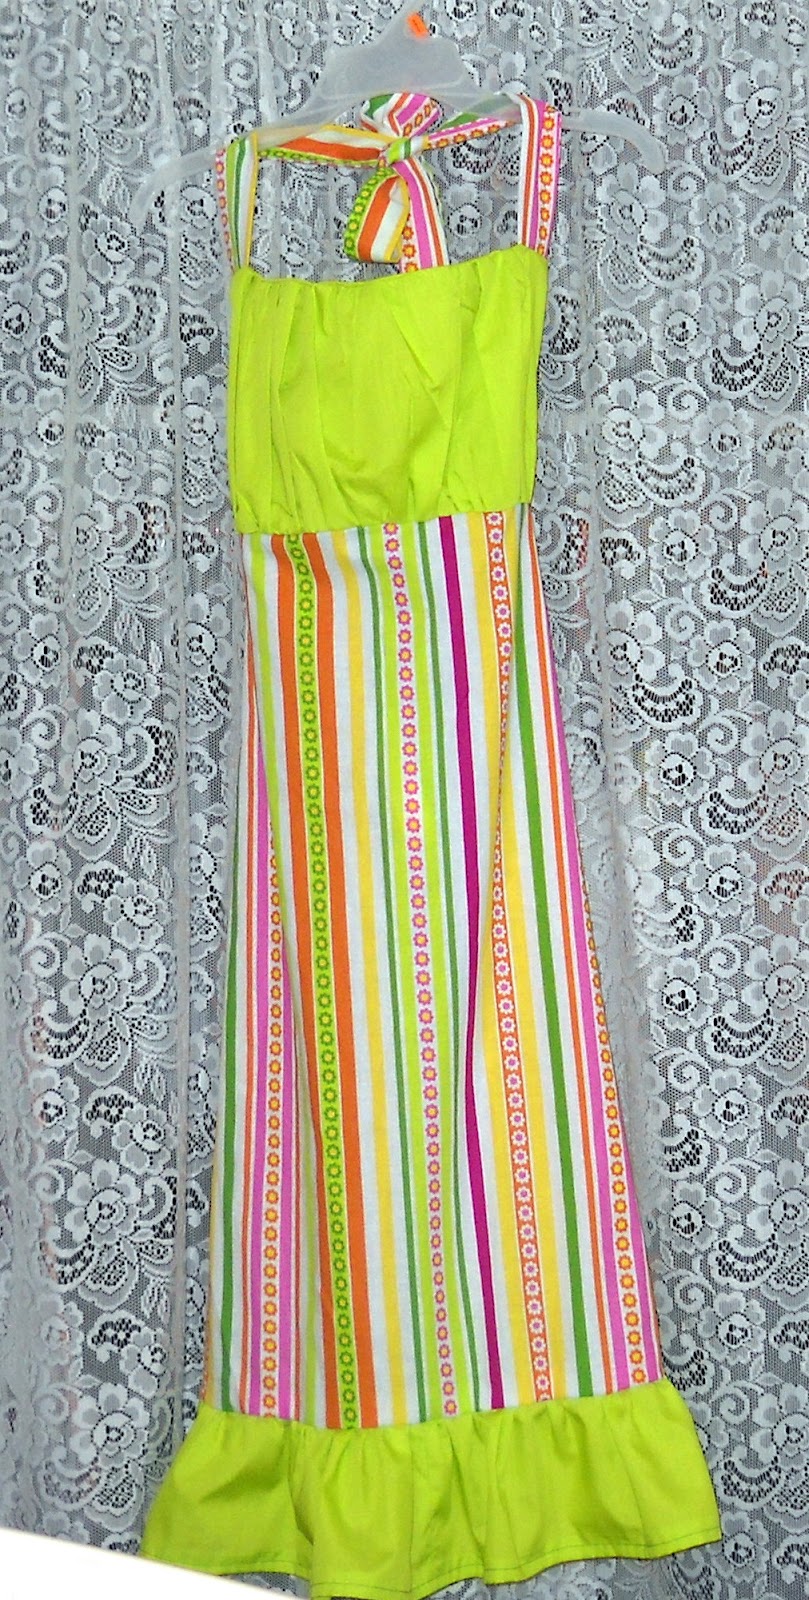
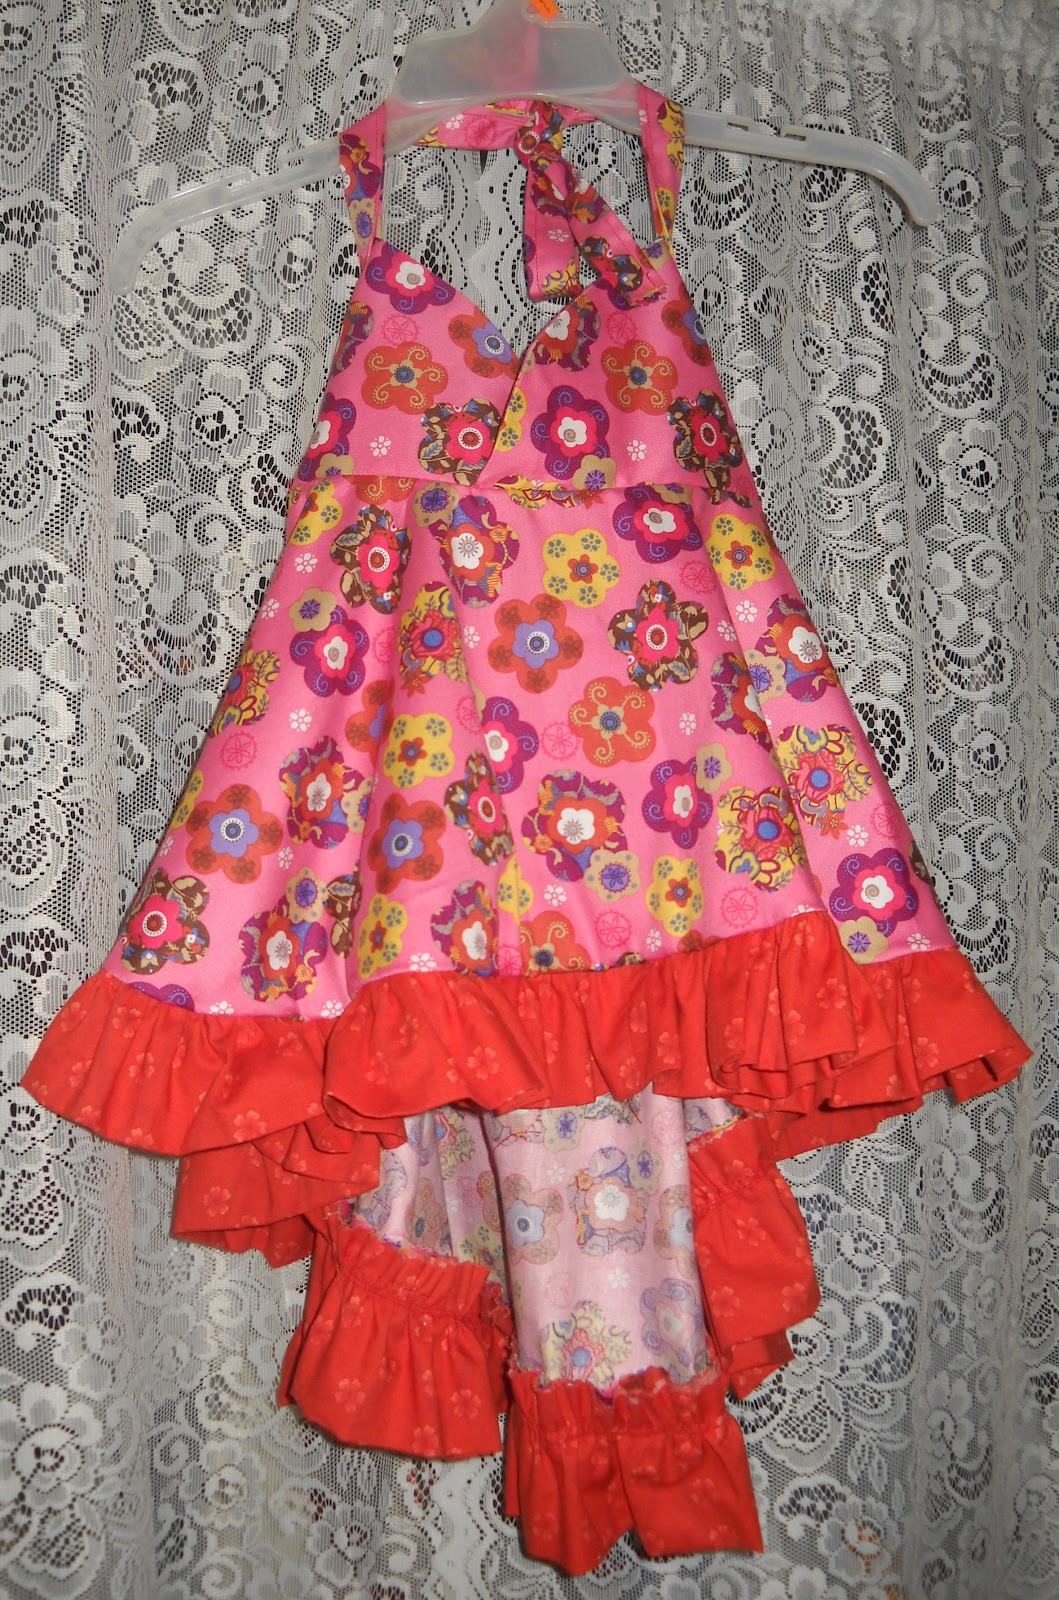
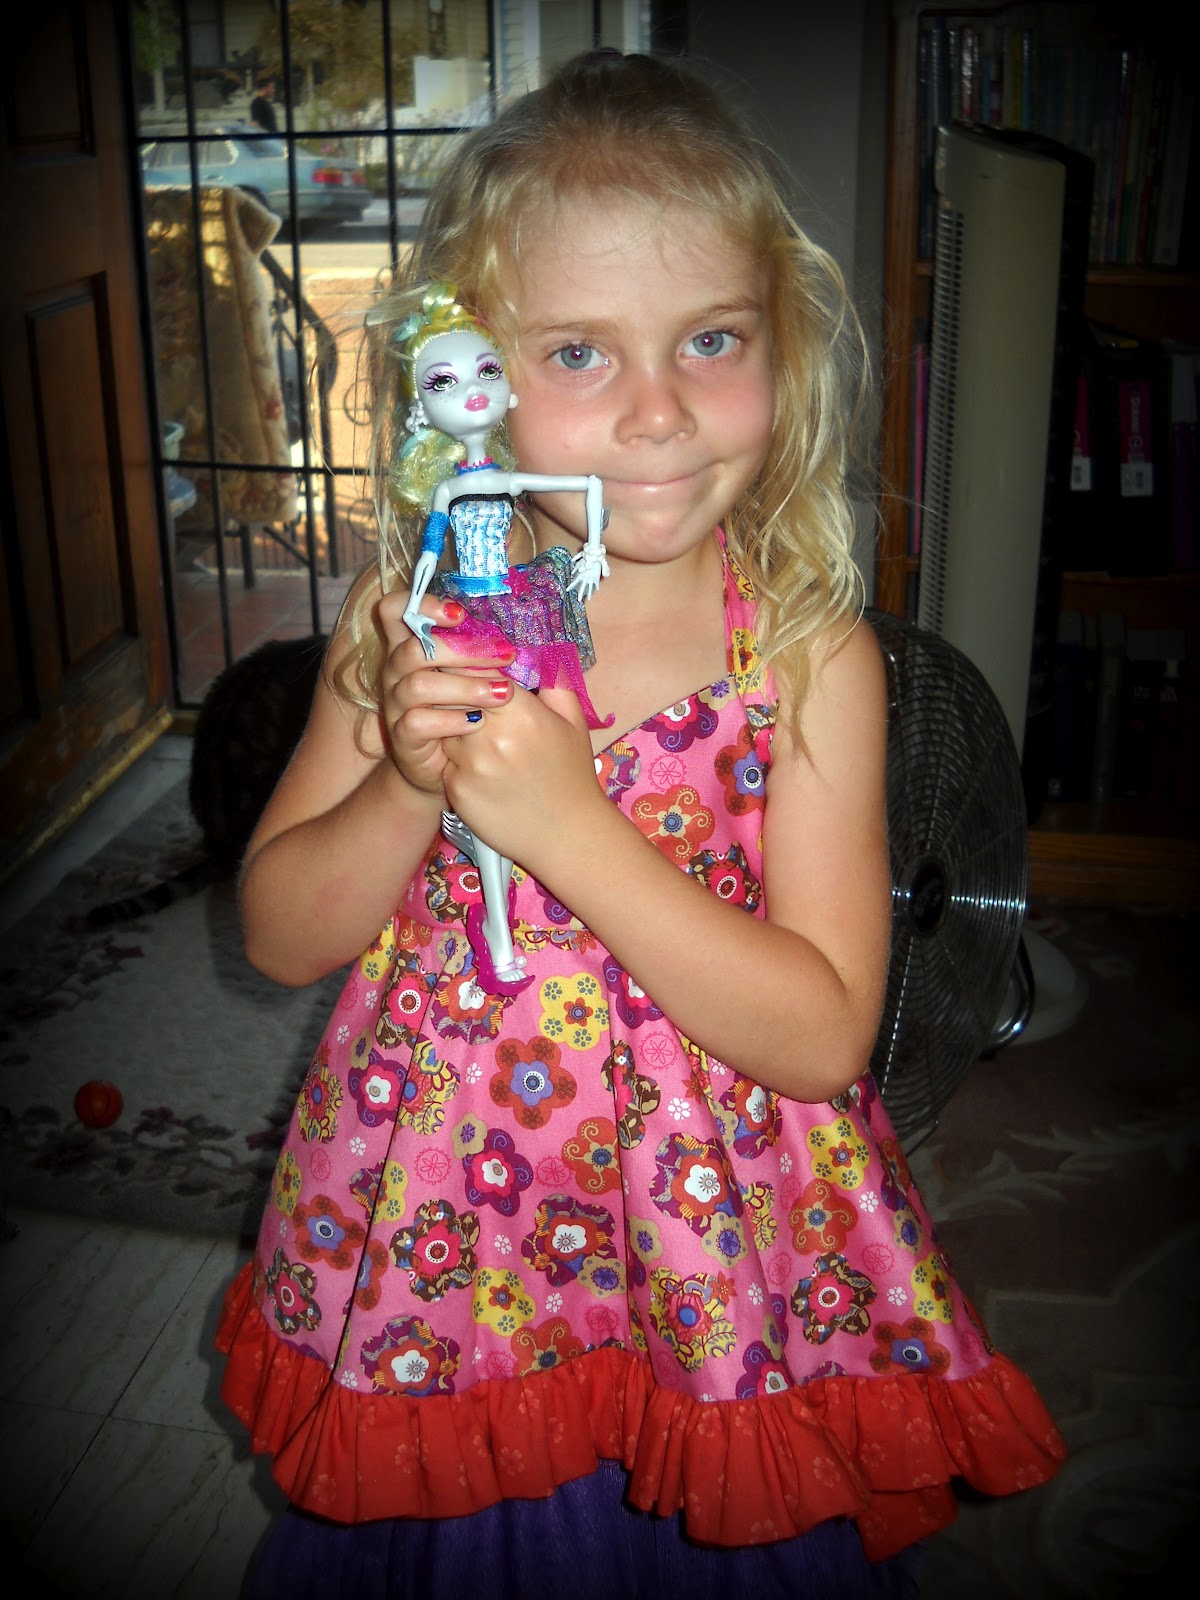
 I had some special birthdays last week and had a wonderful time trying to make some equally special gifts. I shared over the weekend my adventure making my niece's gift. After all was said and done she looked adorable in the dress/ top as you can see here:
I also made a super fun apron and some Boot Cuffs (PDF available) for a dear friend.

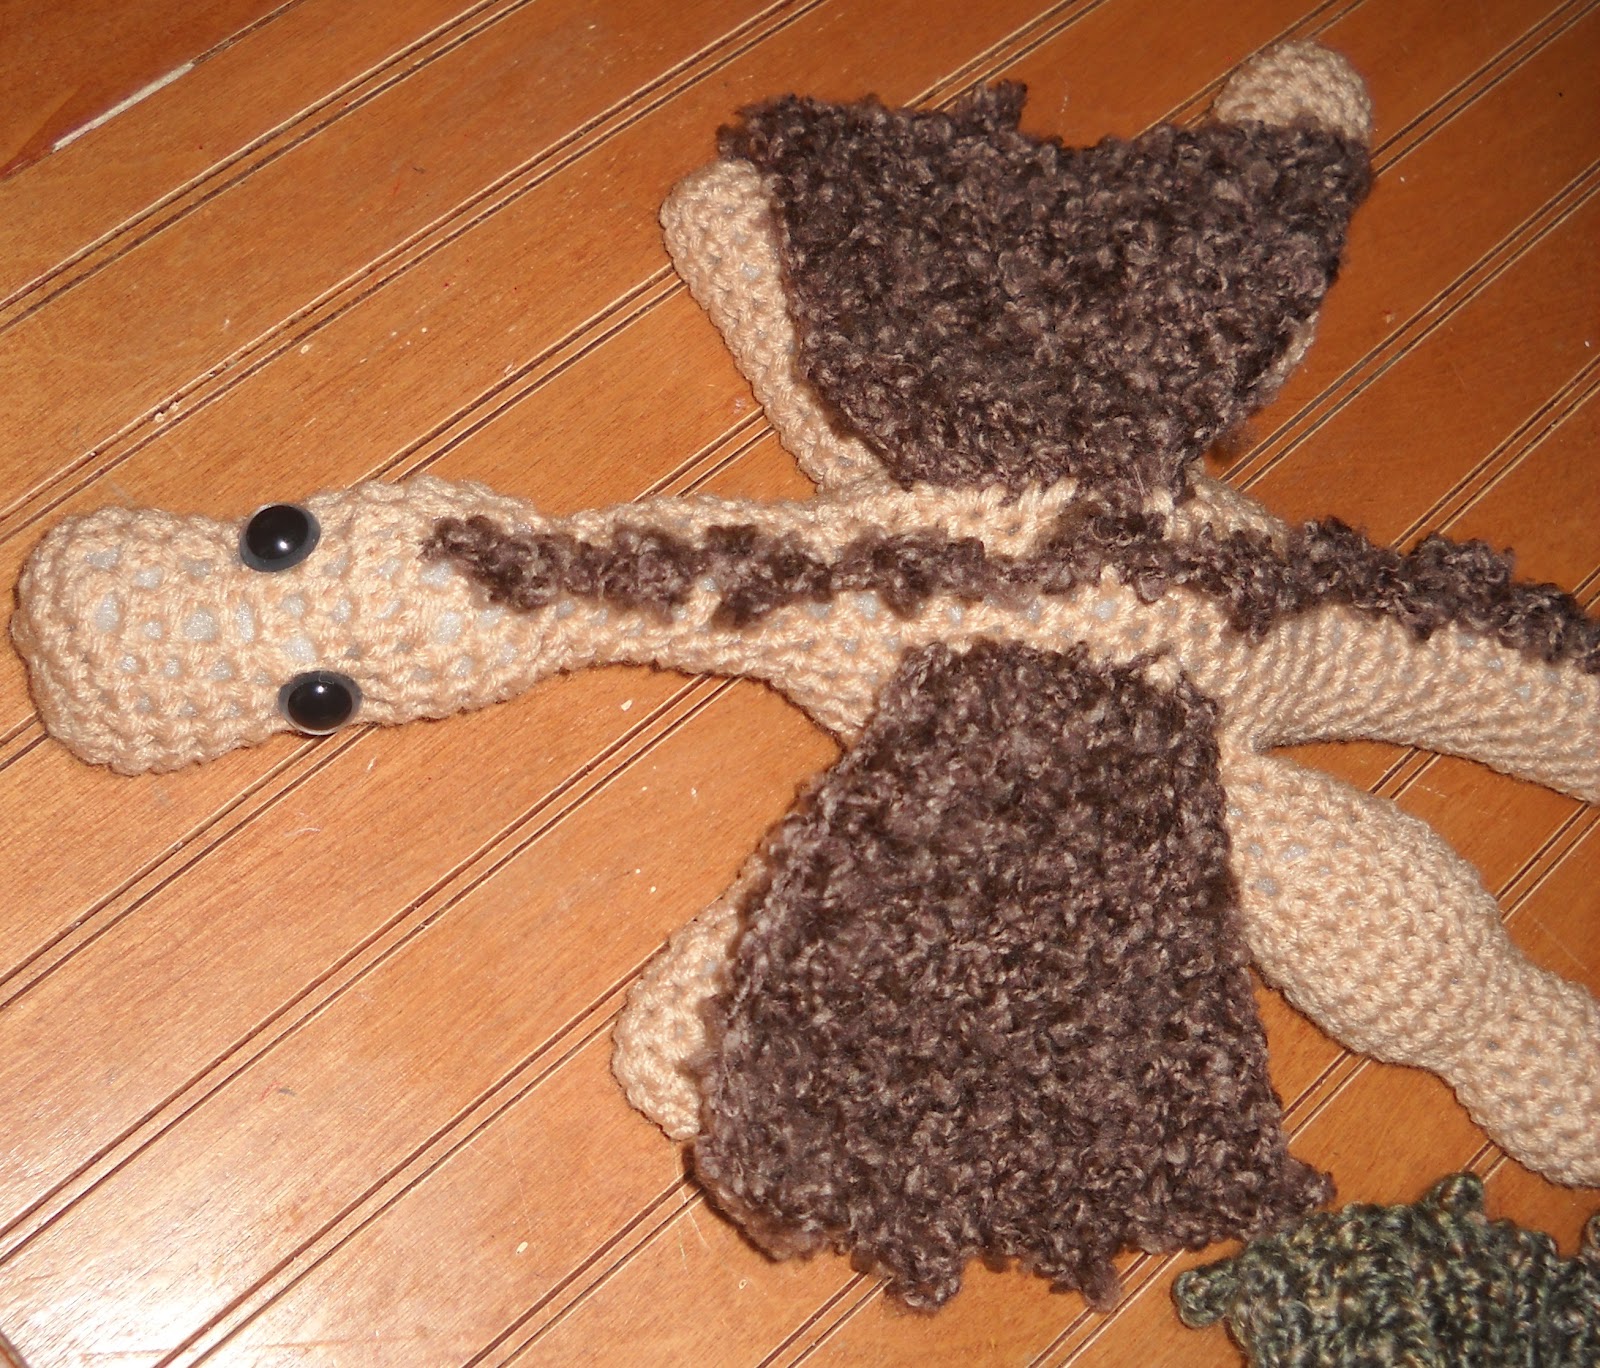
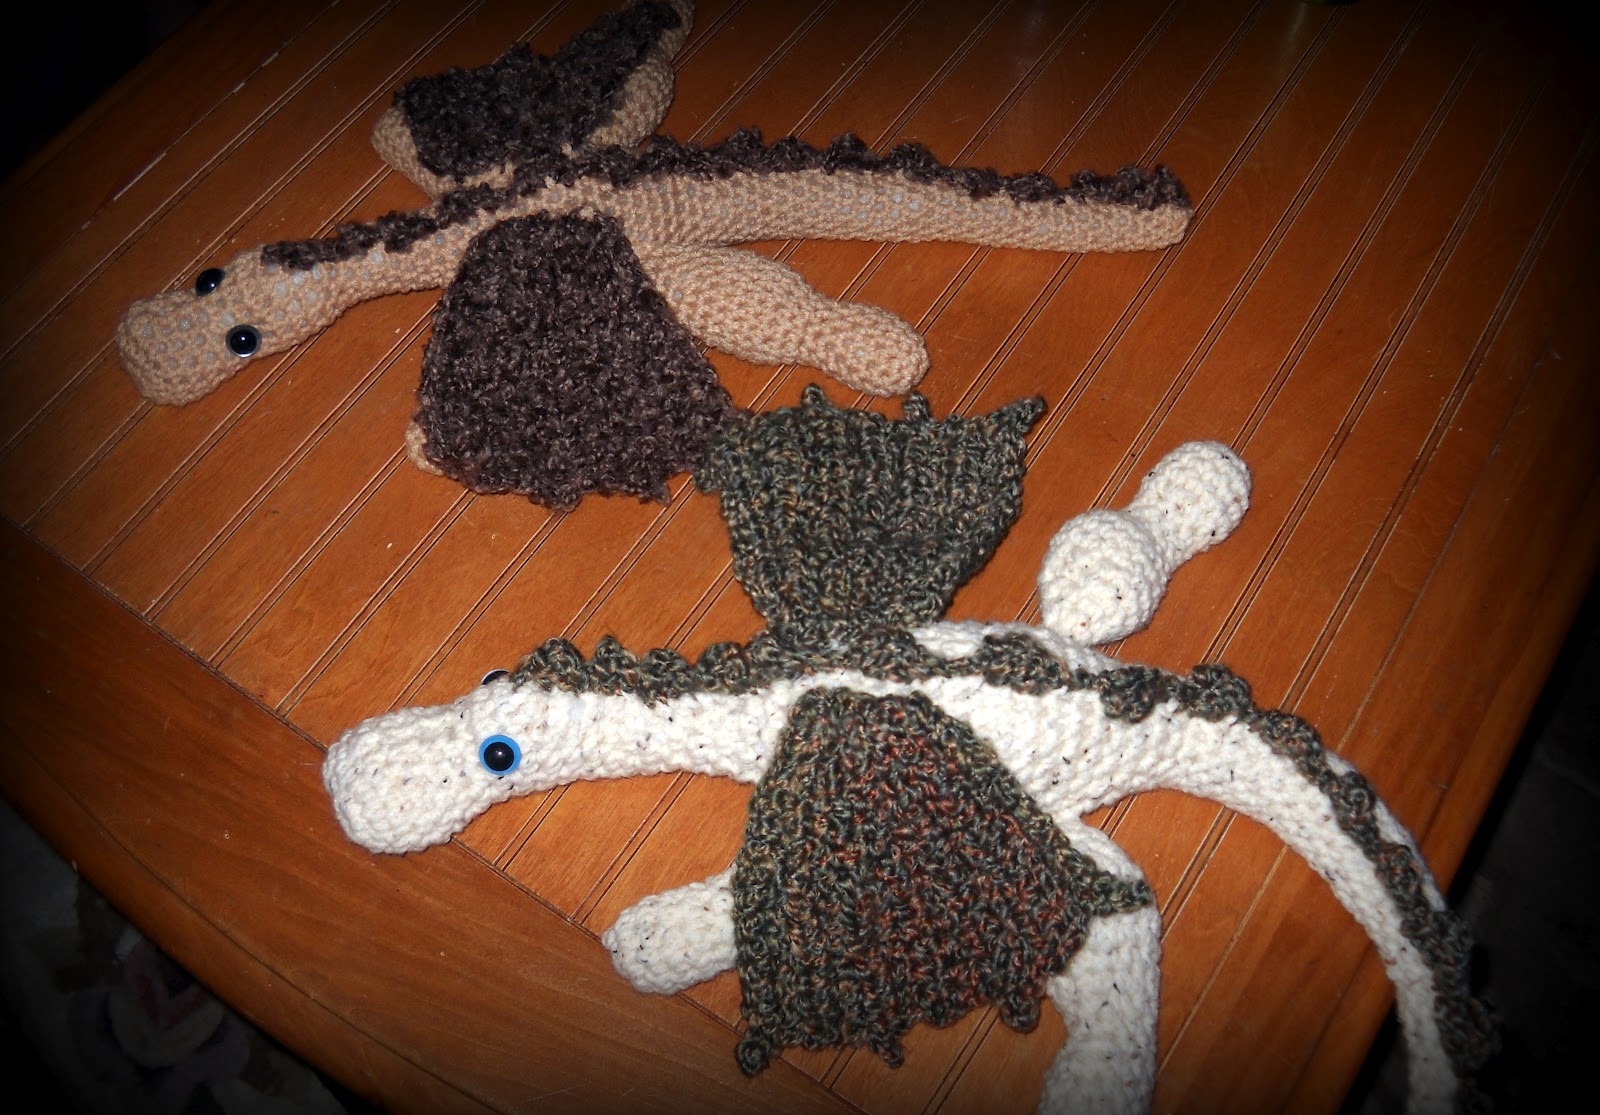
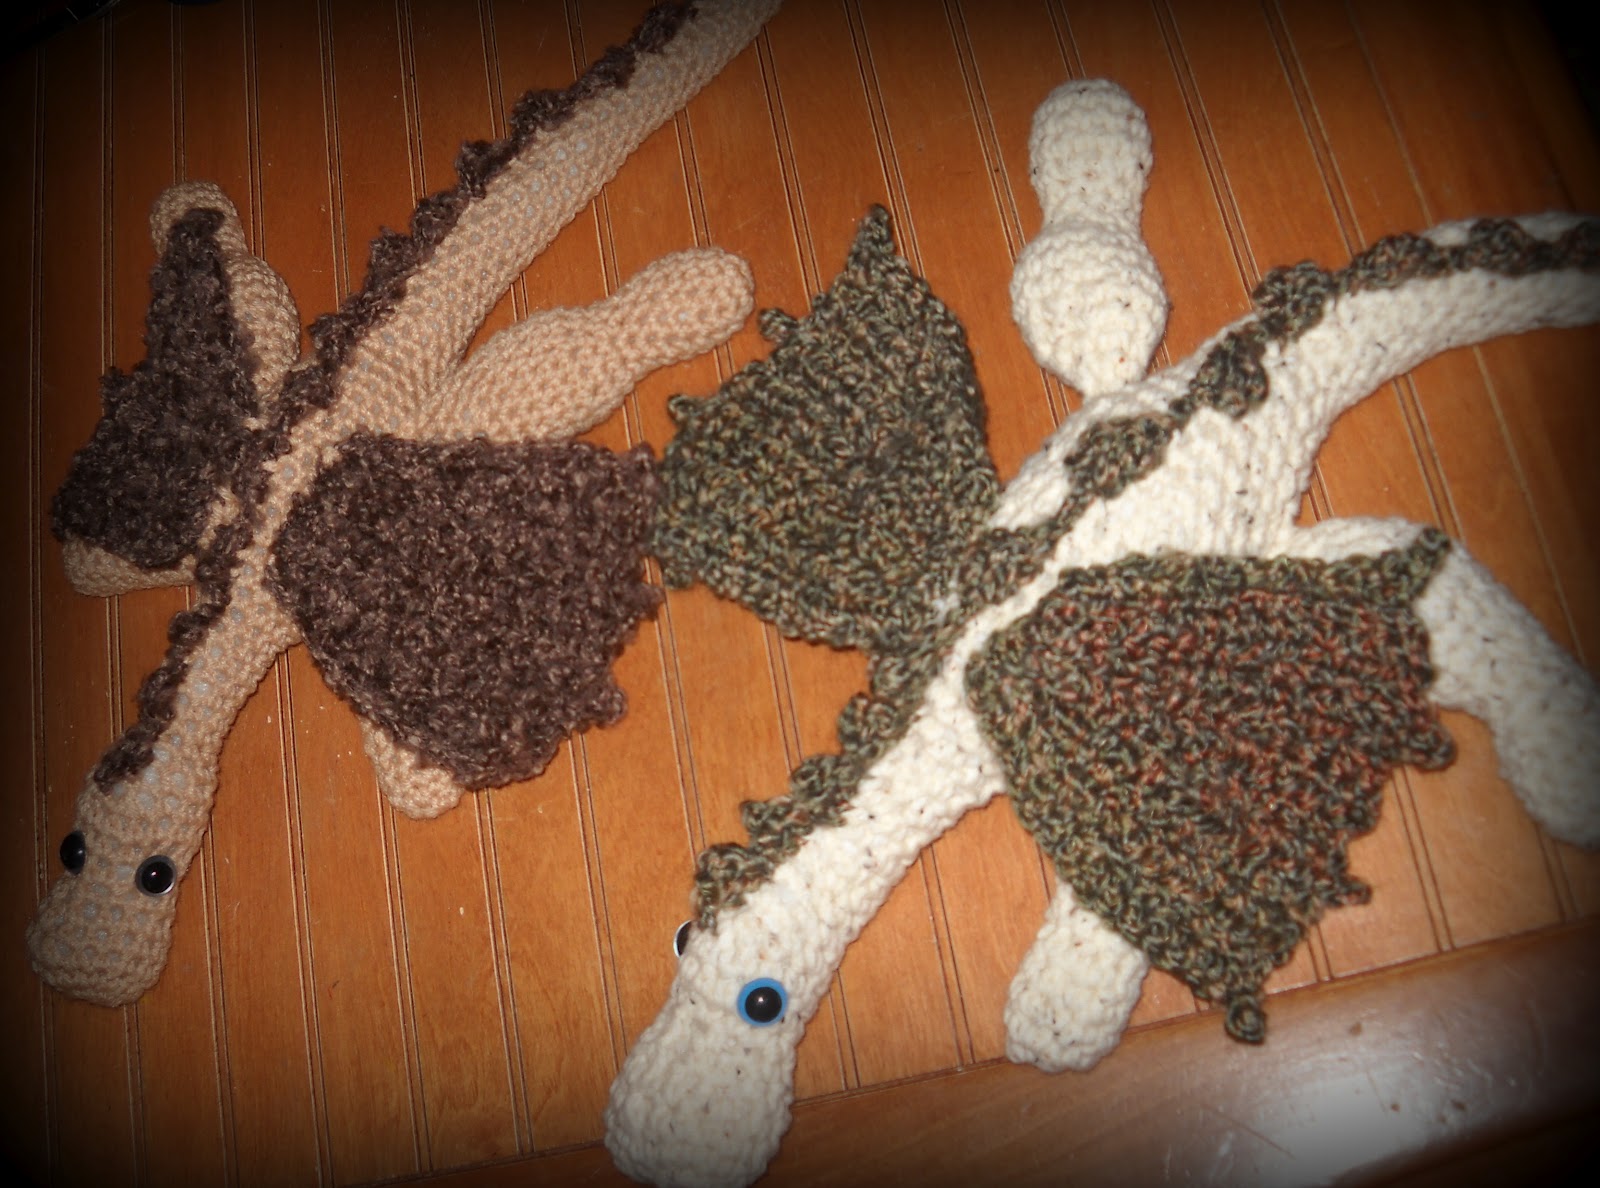
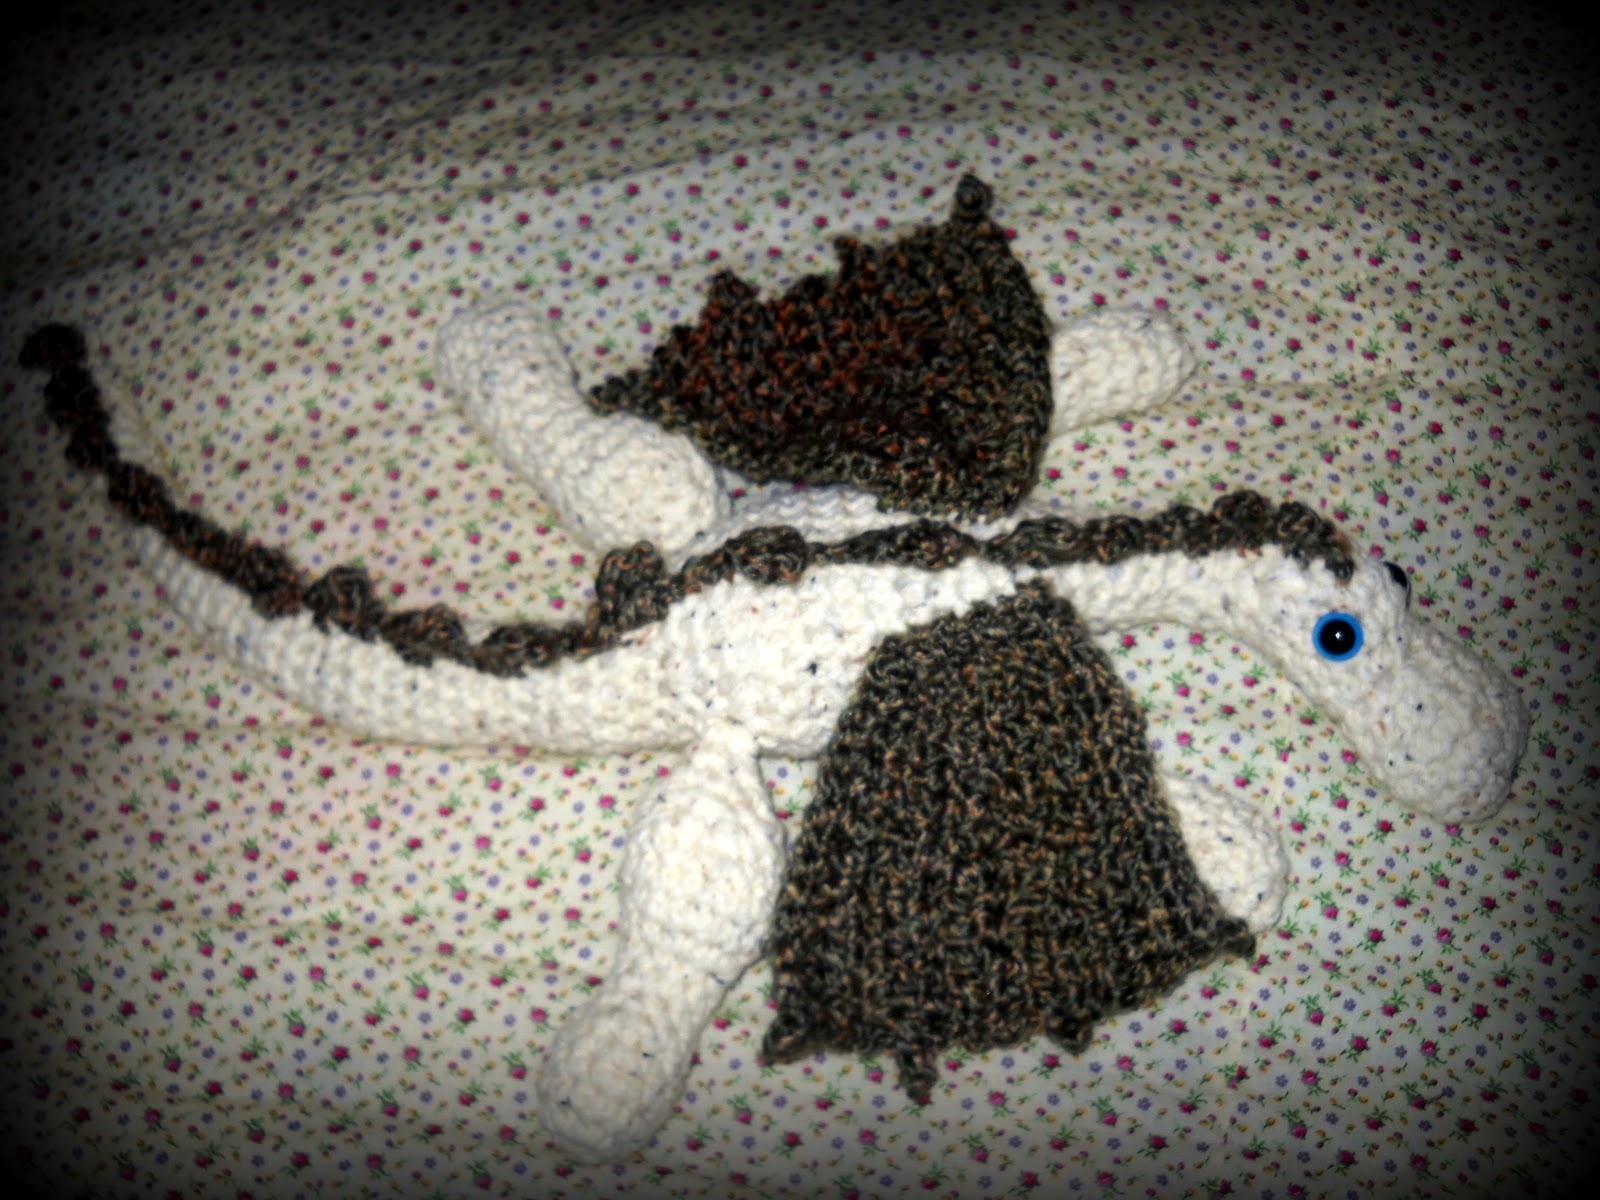
Lastly my nephews got these two super awesome Dragons!!


 I had so much fun (mostly) creating one of a kind items for the people I care for! Making gifts that are specifically designed for each person just makes it so special and very rewarding! I am looking forward to making many more special items. I would love to make a special gift for someone in your life as well

Saturday, September 22, 2012

My Personal Pinstrosity!!

     So about 2 weeks ago I stumbled upon a very real and very humorous blog called Pinstrosity. It is a compilation of all the attempts folks have made trying to replicate DIY projects from Pinterest. I didn't realize how many failed and funny results were out there as I, along with those who have posted on Pinstrosity, thought-think that the instructions given are going to be full proof! Wrong!!!
    Well fast forward and less then 2 weeks later I have my own personal Pinstrosity to share :(
    It all began with a gorgeous little dress than I had pinned and planned to make for my niece for her birthday. I should have seen the warning signs when I went to the website to get the instructions and all the photos were missing. Now I must say the missing photos were no fault of the Blog owner- she had recently, somehow, lost ALL her photos on her blog and was undergoing the daunting task of trying to replace them all. UGH I can't imagine the stress of that process! 
    I felt quite confident that I could still make the dress sans photos as I am a moderately skilled sewer and so off I went. I cut out all the random pieces in the correct measurements and was even able to manage cutting out an off center skirt :p But the minute I started actually sewing everything went to ^&*&^^%$$# 
    I sewed the bodice together the wrong way three times and had to rip it out after every fail. I finally got it together the correct way but then the halter straps did not line up the way they should have. I then discovered I had to "shir" the back of bodice which I had never done but I learned and it actually wasn't bad except I did the shirring on the wrong side of the fabric! The shirring was also not tight enough to make the back fit right. Heavy Sigh!
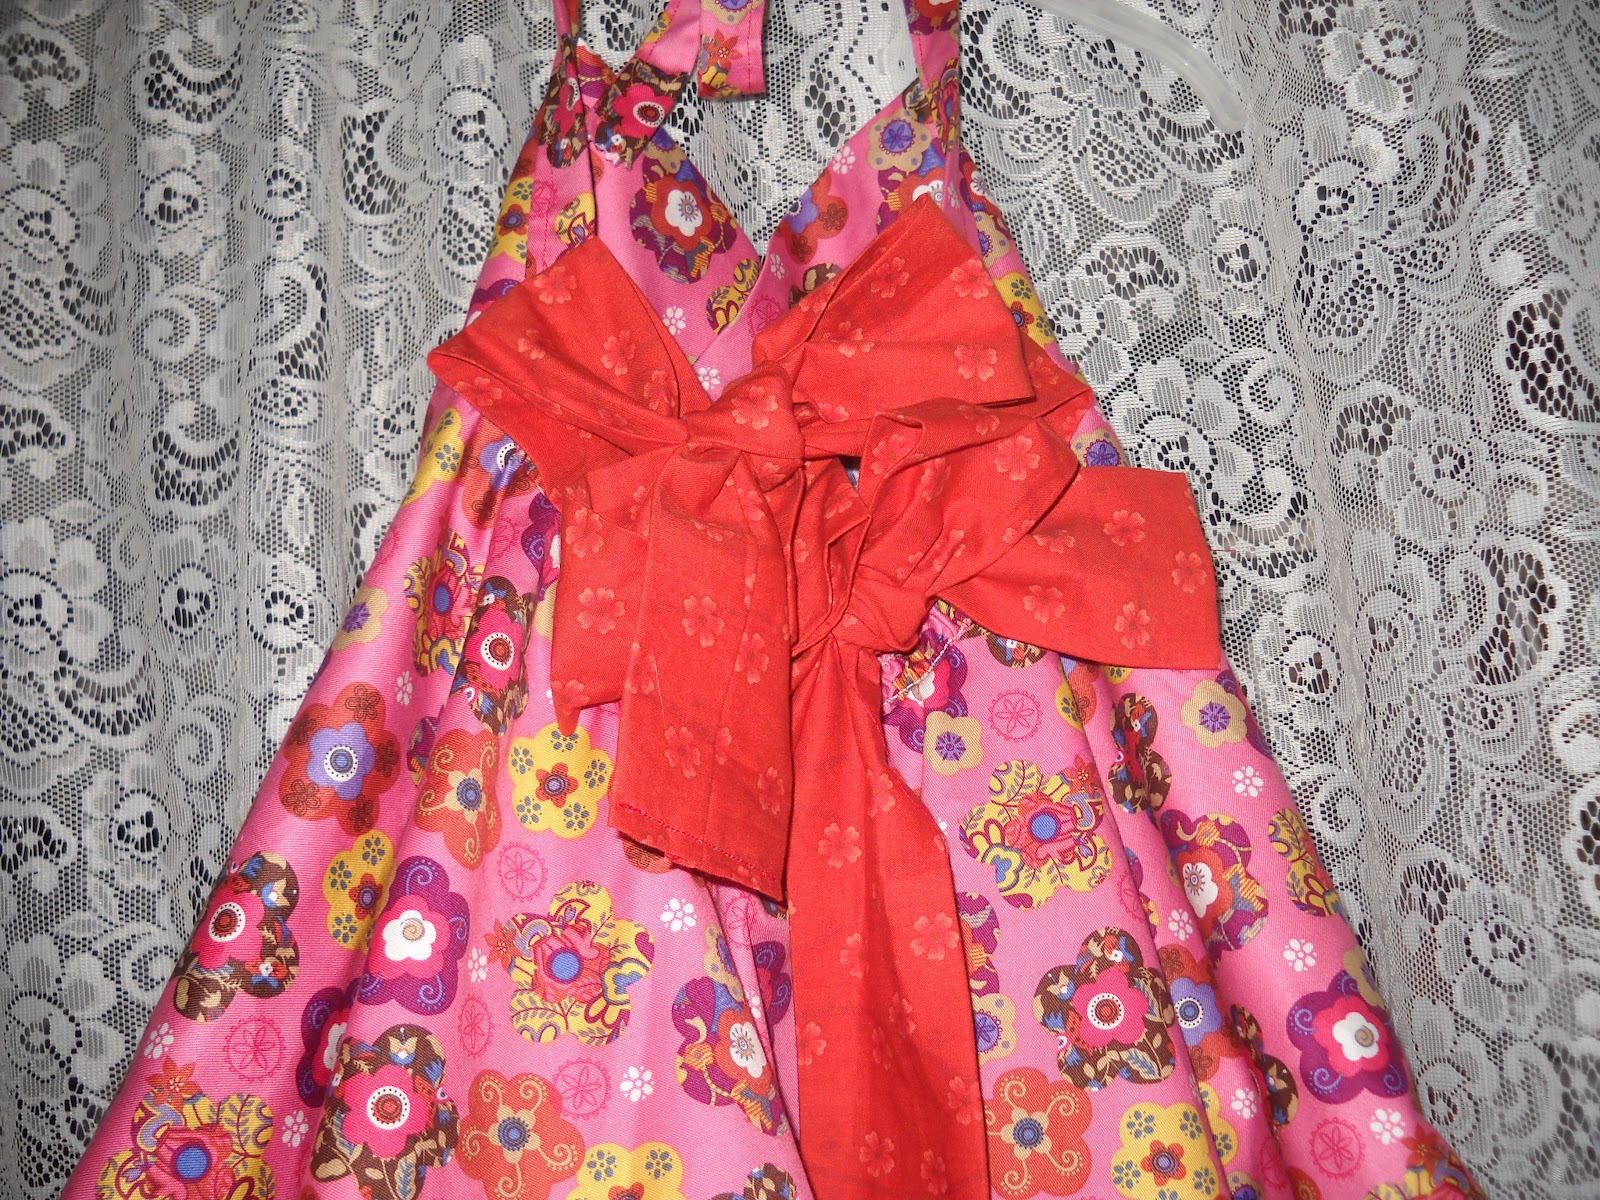
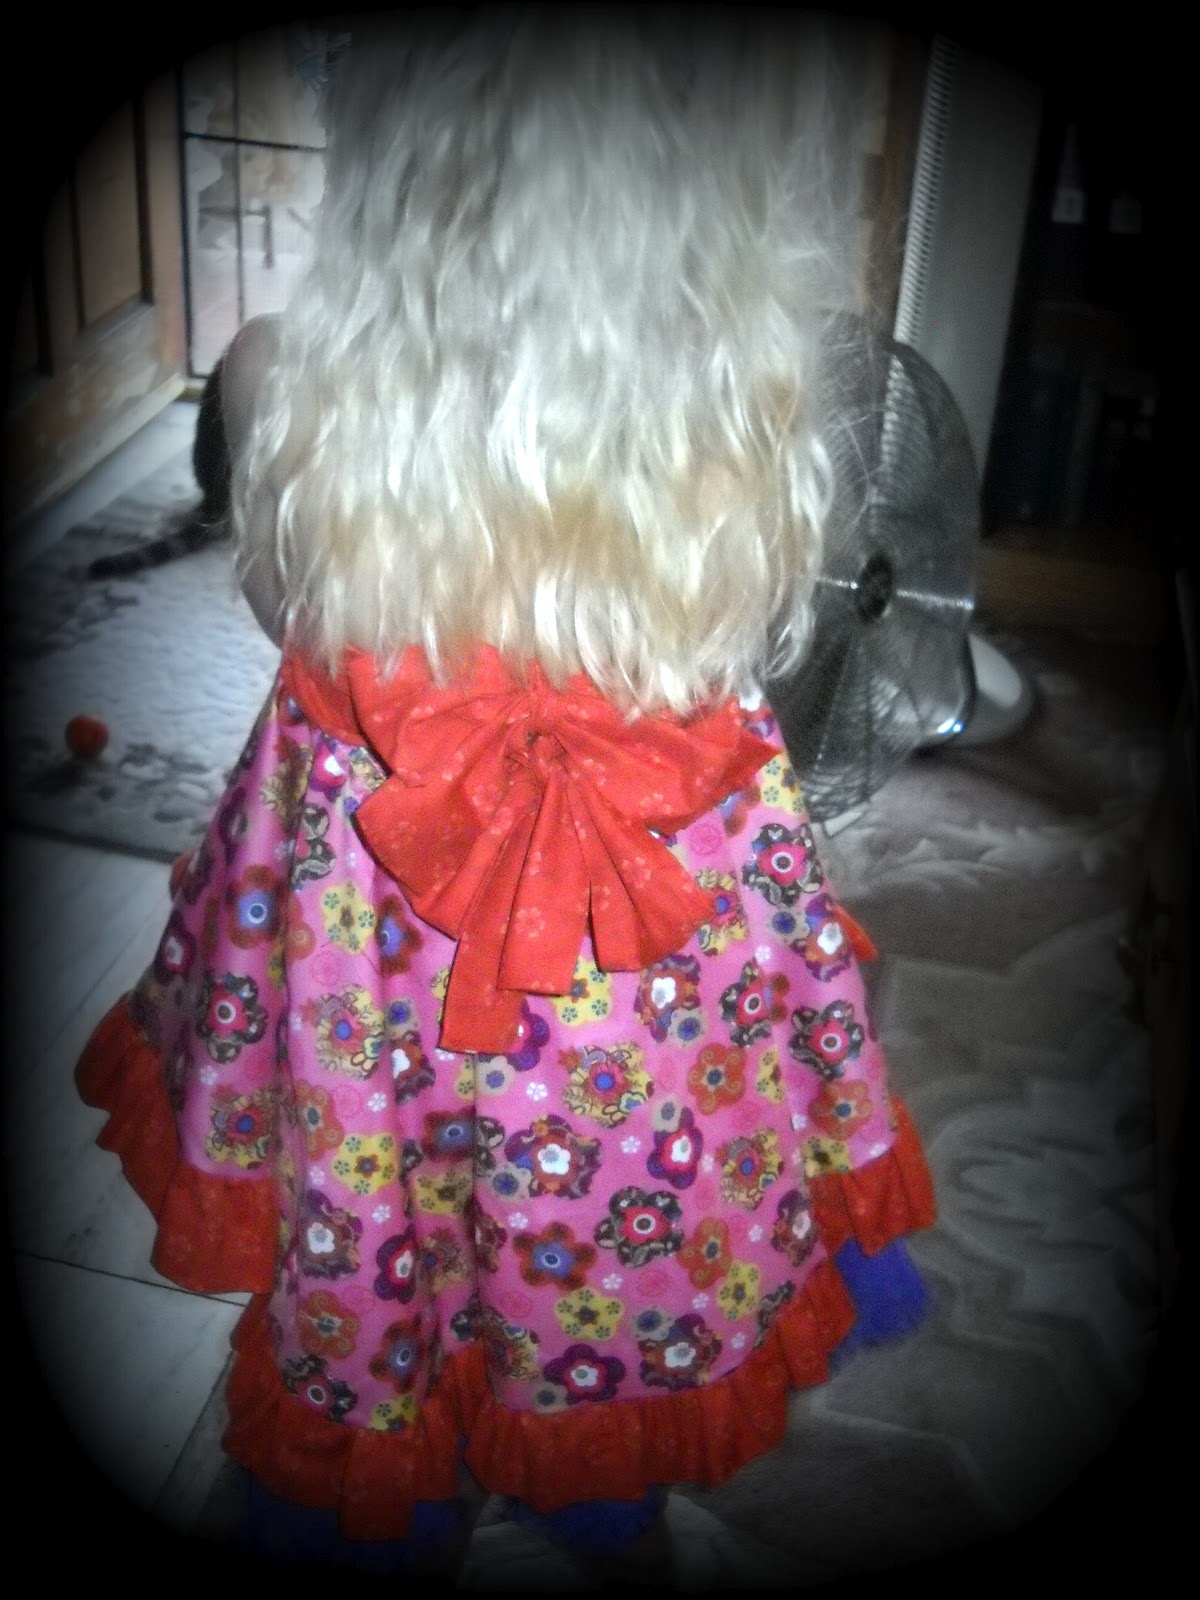
    The skirt part ended up being much too short to be a dress even with the ruffle attached and the back hung open and so I decided that if I added the gathered sides it would pull the "dress" up too high to even be a decent top. Instead I added some wide ties and created a double back bow to help pull in the excess fabric in hopes that it will actually fit my petite niece. 
     A significant part of the problems I had were the lack of photos. For example, even though I used her pattern template my bodice looks nothing like hers. When you are working with no pattern and someone else's ideas it isn't easy to mesh the two without visuals. Store bought patterns always combine written instructions with pictures-- know why?? I sure do (now)
     The dress/top wasn't a total loss though and my niece is still getting it. It actually is quite pretty but bears little resemblance to the original pattern I based it on :(
    I now consider my a full fledged member of Pinstrosity and have the mental battle wounds to prove it!


Friday, September 14, 2012

Couldn't Wait

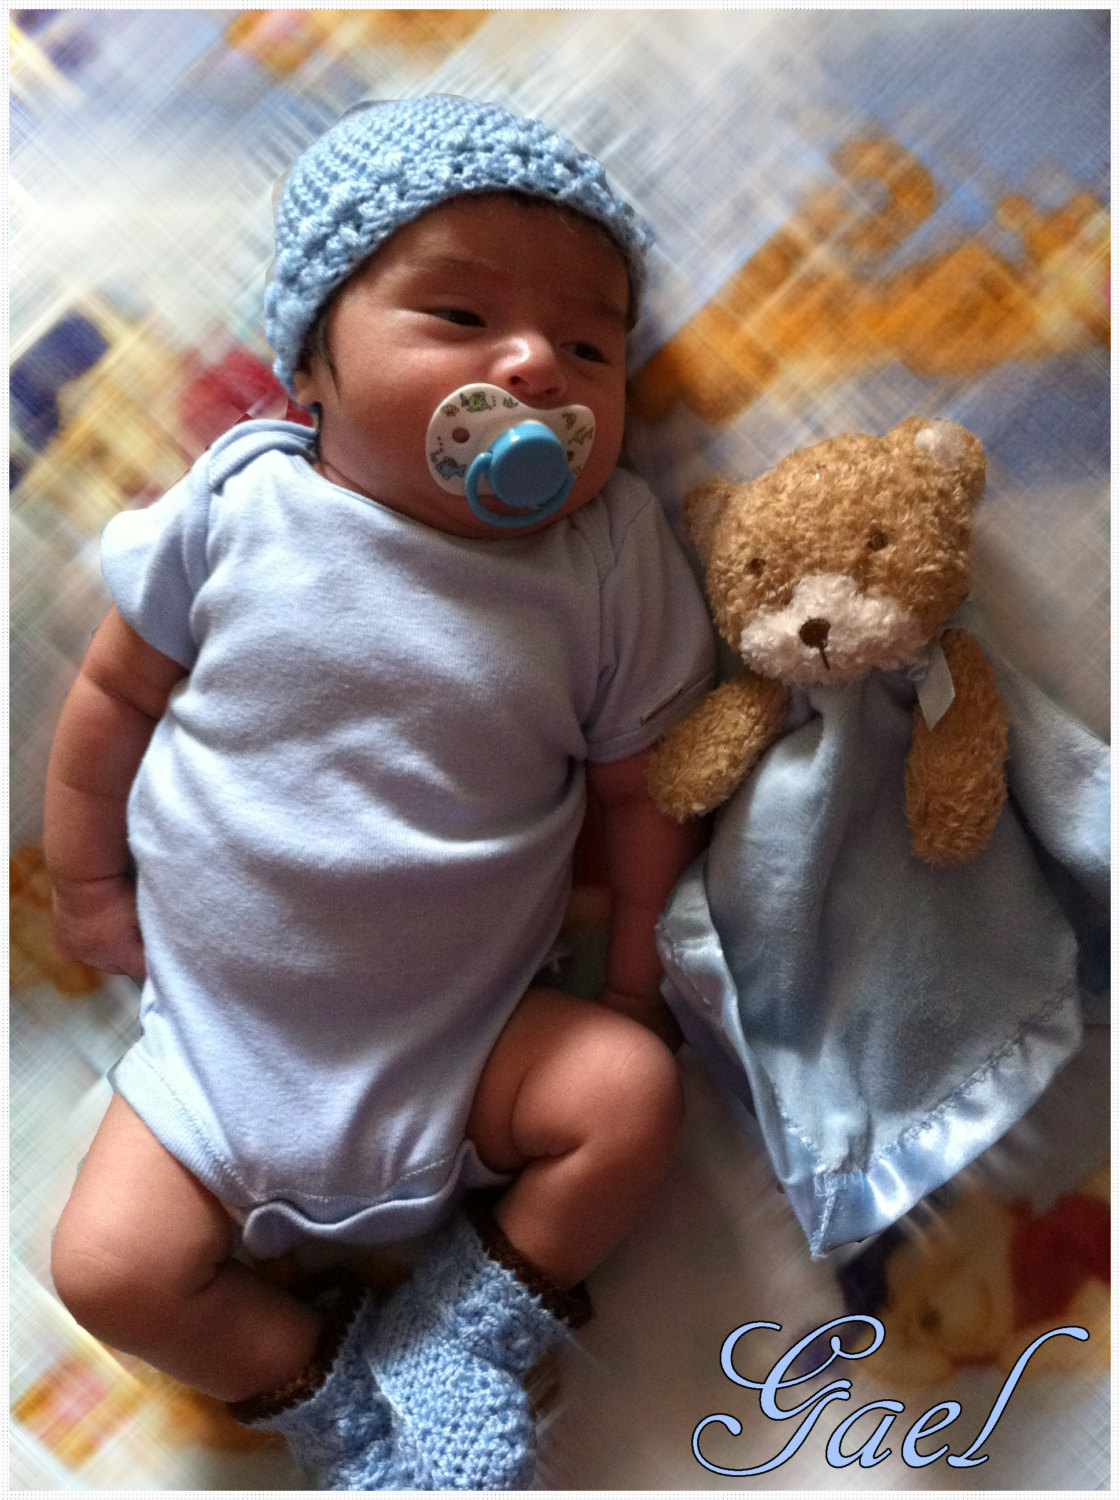
   Just a quick post to share the sweetest picture from one of my customers showing off her brand new baby boy wearing a custom order!! I am so blessed for her and her family on their new addition and adore the way the hat and booties look on him!! Thanks again Guiselle for sharing and can't wait to see him in the other items as he grows!!


Thursday, August 30, 2012

Real Deal

   When I make items I often have to take the best photos I can (or if I am lucky my friend Christina takes them) and make them look as cute as they are WITHOUT them actually being on a real person or baby. It is not the easiest thing to accomplish. Occasionally I have worked with photographers who will take some great pictures of my photography props but it still leaves a substantial amount of my offerings without a real body attached.
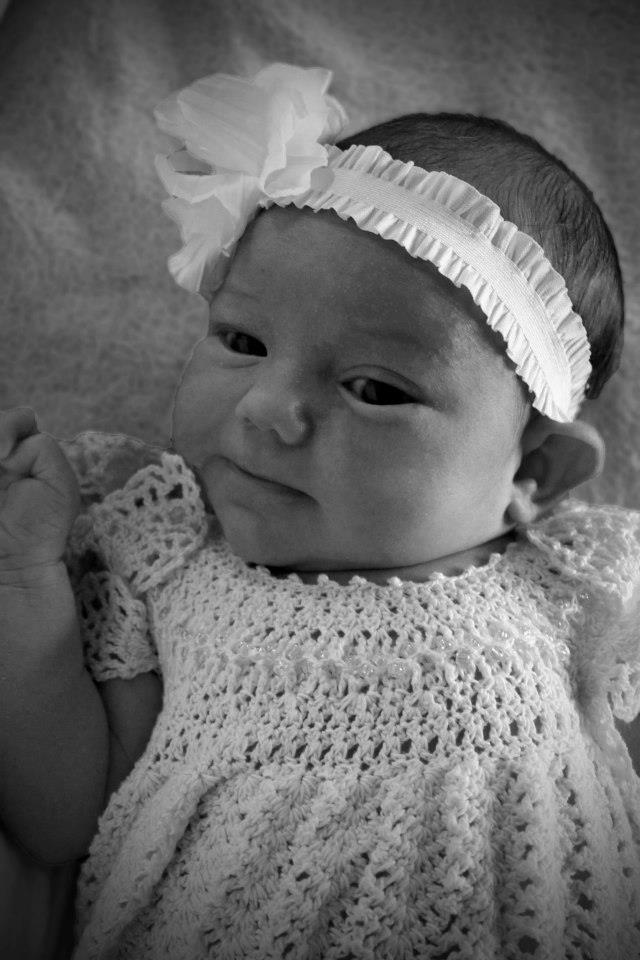
   Recently I was blessed with some photos that combine an adorable little person with something I have made which = BLISS! Especially when they fit perfectly! So a few pictures to share...
                                                         Most Beautiful feet EVER!
                                          New Grand-daughter all ready for the runway
                                               Being gorgeous makes you tired :)
                               Can only take credit for the shoes but it's a sweet little dress too
              My son's long time friends' daughter-geez I remember when he was only 13
                                                             She's a doll isn't she?!?
 

Wednesday, August 15, 2012

Cowboys & Zelda Part 2

   So I covered "Cowboys" in Part 1 ~ now it's time for Zelda! I am a HUGE, I mean HUMONGOUS, seriously over the top Zelda Fan!!! There aren't enough exclamation points to emphasize how much I adore Zelda.
  It started way back in the 80's with the first Gold Cartridge and I was hooked! I beat the first game and found there was a code to get a whole new world to beat! Sheer Joy! Anyway fast forward to the present and many, many Zelda games since then--- I do have to mention last year on my 49th Birthday my boys got me the newest Zelda game complete with a gold Wii controller!! 
  So racking my brain a couple of weeks ago trying to think of a DIY gift for a dear friends' hubby who is not only male but 30ish which equates to the most difficult people to make something for. But then I remembered, inset light bulb over my head, that he was a Zelda Lover too! Instant happiness and brain storming. 
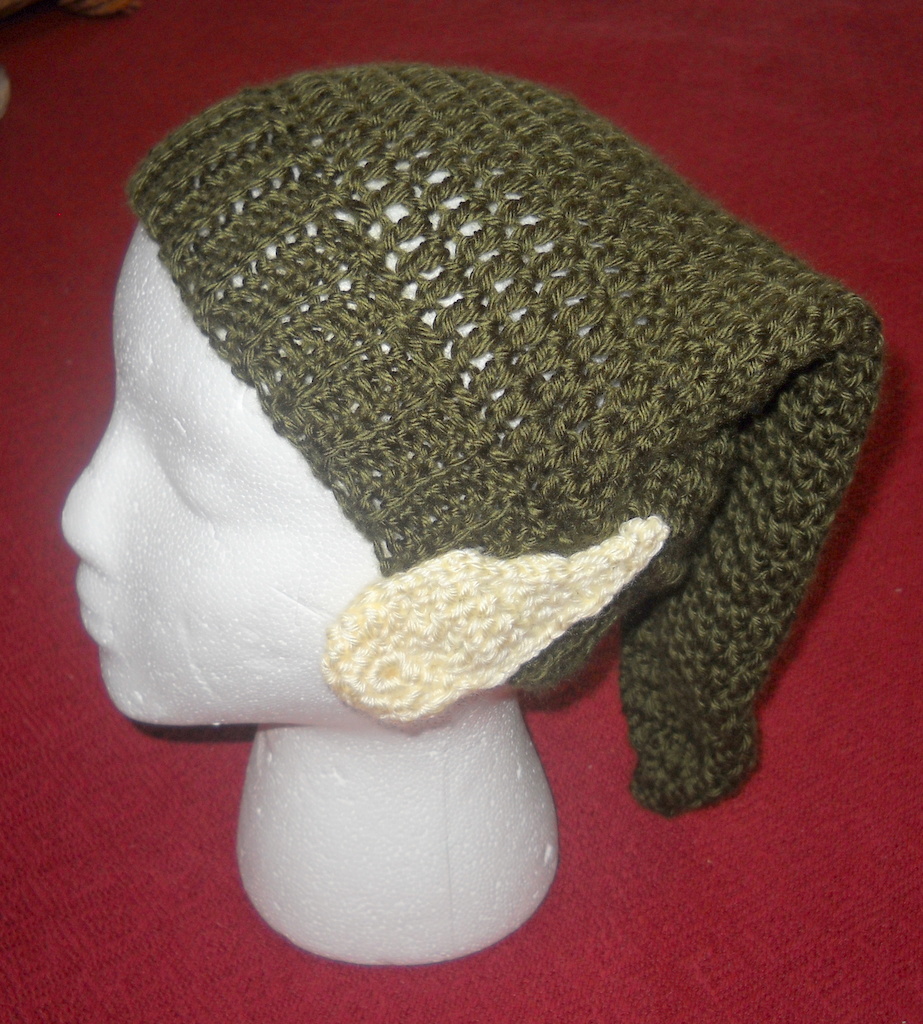
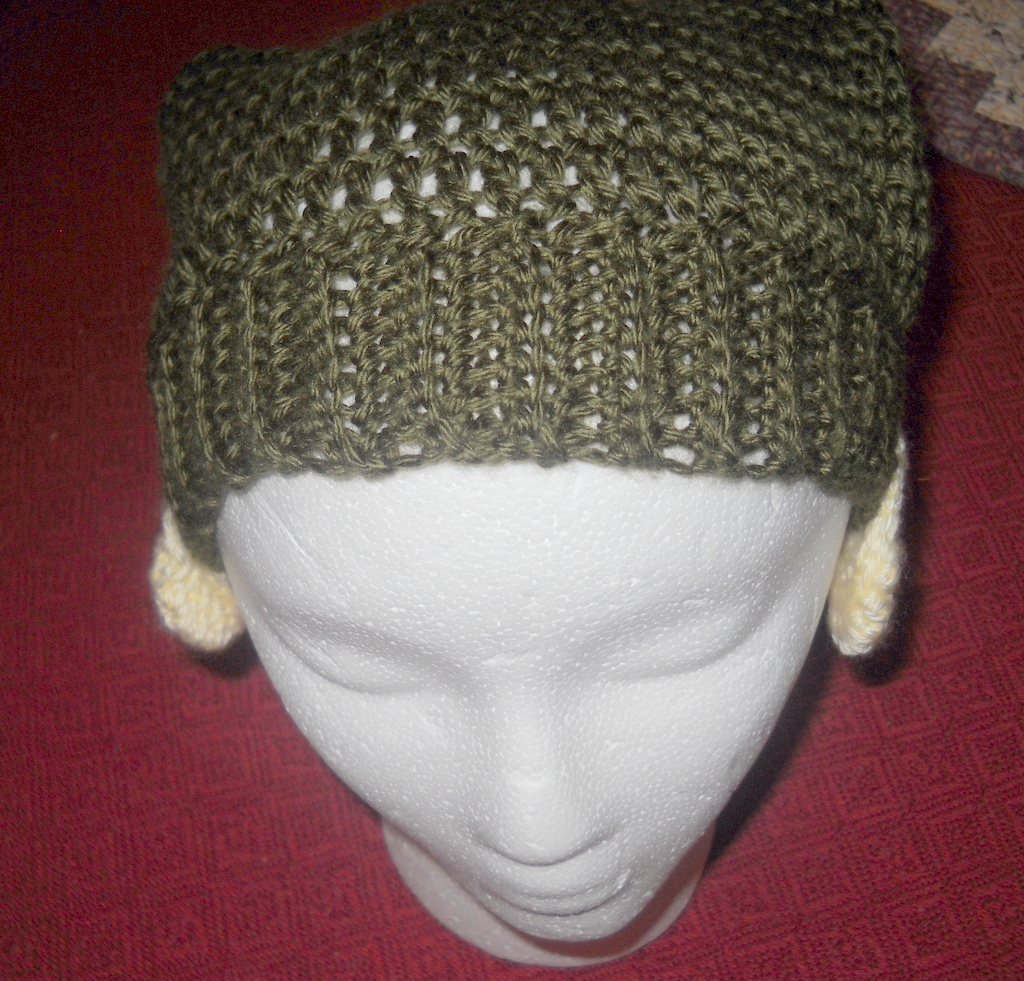
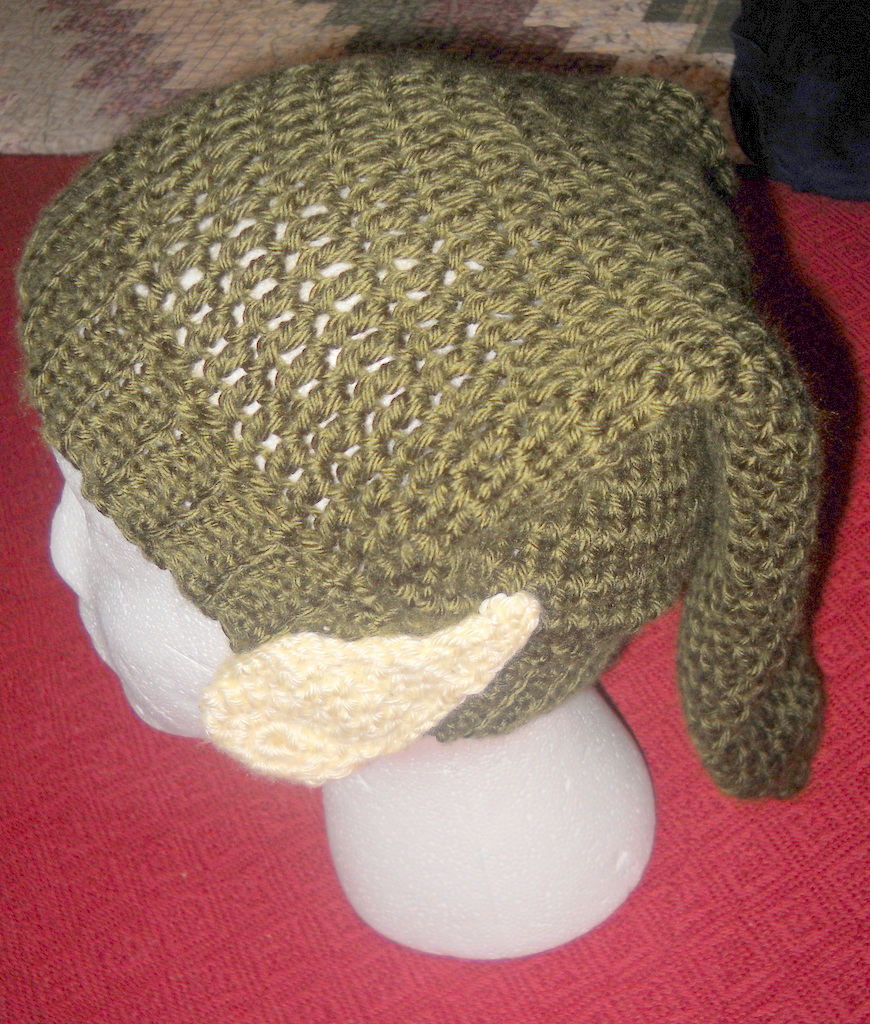
  Since he is wonderfully quirky, which runs in my family as well, (and is a superb quality to have) I decided a Link style hat would be ideal. I could just picture him wearing it while playing any number of games. I began to search the internet for patterns and pictures. I was surprised by the limited amount of patterns available. The few I did find were all lacking in one way or another so I decided to create my own pattern. I was pretty pleased with the hat but it needed something more...Elf ears! 
  It ended up being just AWESOME! If I do say so myself :) The gift was a hit and now is available to purchase on my Etsy shop. You can buy the hat already made in any size or color combination OR if you are so inclined, you can purchase the PDF Pattern and create your own. The pattern is only available in adult size at this time since I was in a such a hurry to post it but I will gladly offer advice on how to make it smaller. Here;s the big reveal ;)


Saturday, August 11, 2012

Cowboys and Zelda!! Part 1

  I am super excited to share my recent experience with two hats! They were such fun and I am so happy with the results I just need to share. Today's post is longer than I figured so the "Zelda" will be shared in Part 2
  The first hat came into existence from a Custom Request--LOVE IT-- by a lady who had purchased quite a few items from my shop. One of the items was a pair of cowboy booties and she asked if I could make a Cowboy hat to match. 
  Well I had been contemplating adding a cowboy hat to my listings so it just made it a must do. I looked around quite a bit for a Cowboy hat pattern. ( I learned from my years teaching never to waste time re-inventing the wheel i.e. if someone else has done it already get it from them) But I was quite disappointed with the offerings. I tried one free pattern and was very unhappy with the hat so I unraveled the whole thing. Then I did some searching for patterns you have to buy and was quite shocked at some of the prices.
  Just when I was about to give up I FOUND IT!! And the pattern was not only very inexpensive but it was super cute and included a vest and chaps pattern as well. For those of you who would love a pattern of your own click here.
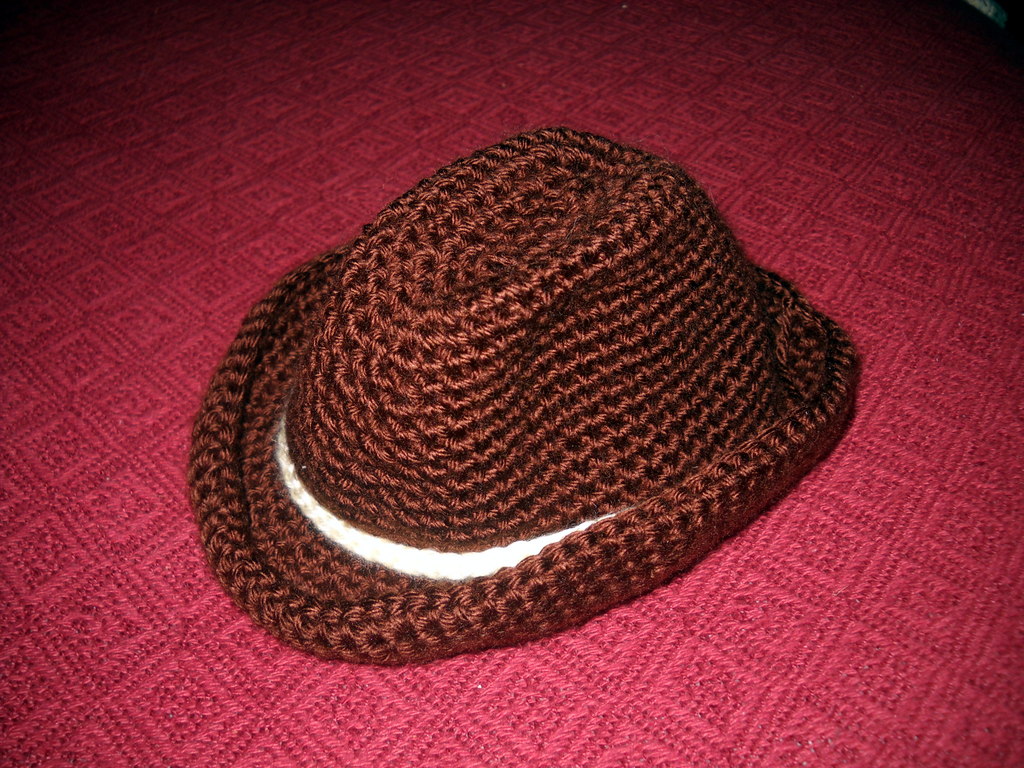
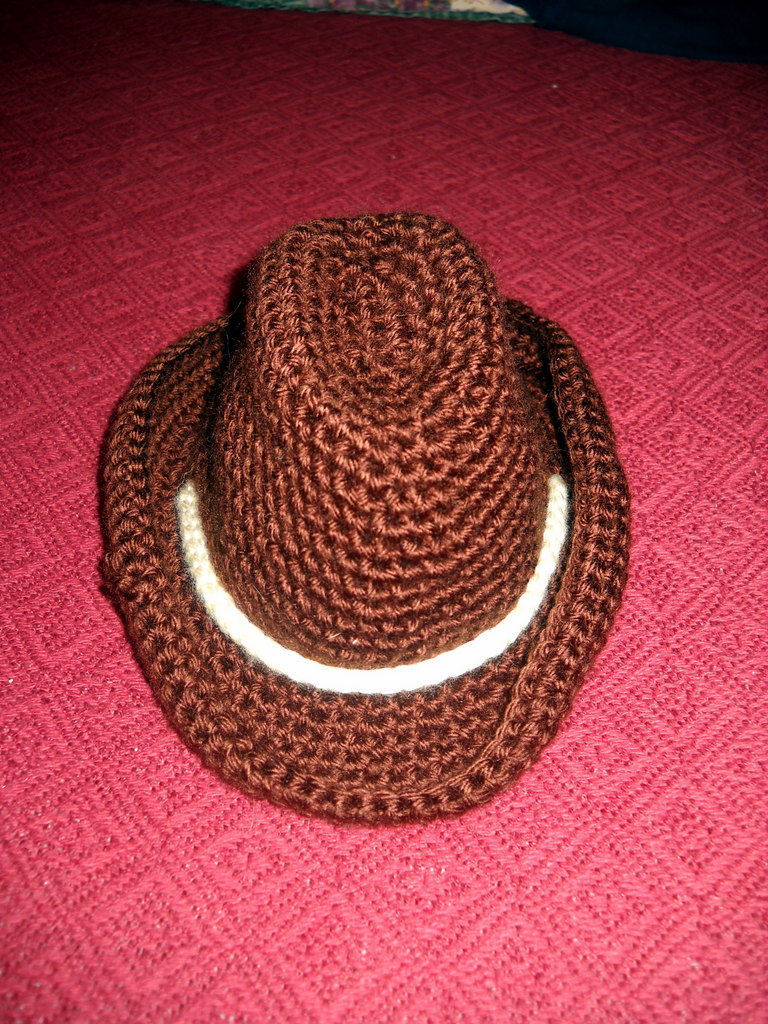
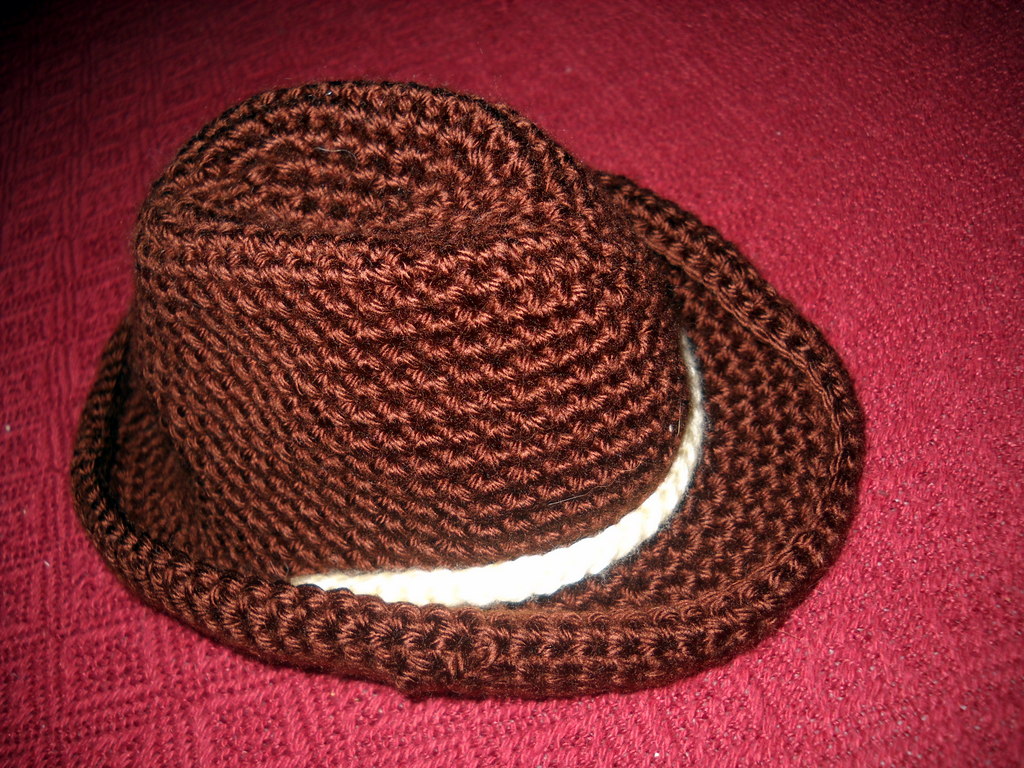
  The hat came out soo cute and my buyer was soo happy with it! What more can you ask! I am chomping at the bit to make a girly version--can't you see it in Pink and Brown or Lavender and White!


One extra pic of a recent Cowboy boot Order that I just have to share- the color combination is soo adorable!
Happy Weekend! 

Monday, July 30, 2012

Very Happy

  It's been far too long since I have used my Sewing Machine. I was raised by two avid sewers so of course, I became one too. While my boys were little I sewed so many things.. curtains, furniture covers, pillows, and more but mainly I sewed clothes. I made baby clothes for my own kids and for gifts. I made tons of summer shorts and uniform pants. I even made myself a few things over the years. I really enjoyed it and was not too bad if I do say so.
  Insert many years of College and working, working and working towards my Teaching Credential, Teaching and raising my boys. Between classes, homework, planning lessons, housework and trying to be a good mom sewing and pretty much any other type of crafting was impossible.
  It took a few years of being a stay at home -actually work at home mom- to start to feel that old desire creeping back. I started with crochet and have been avidly pursuing that for a few years now but the sewing machine beckons me. I tried a couple of years back but if you know my son there was no way to sew with him literally in my lap so curious about the machine and every item that sewing requires. So it has sat and sat and sat. 
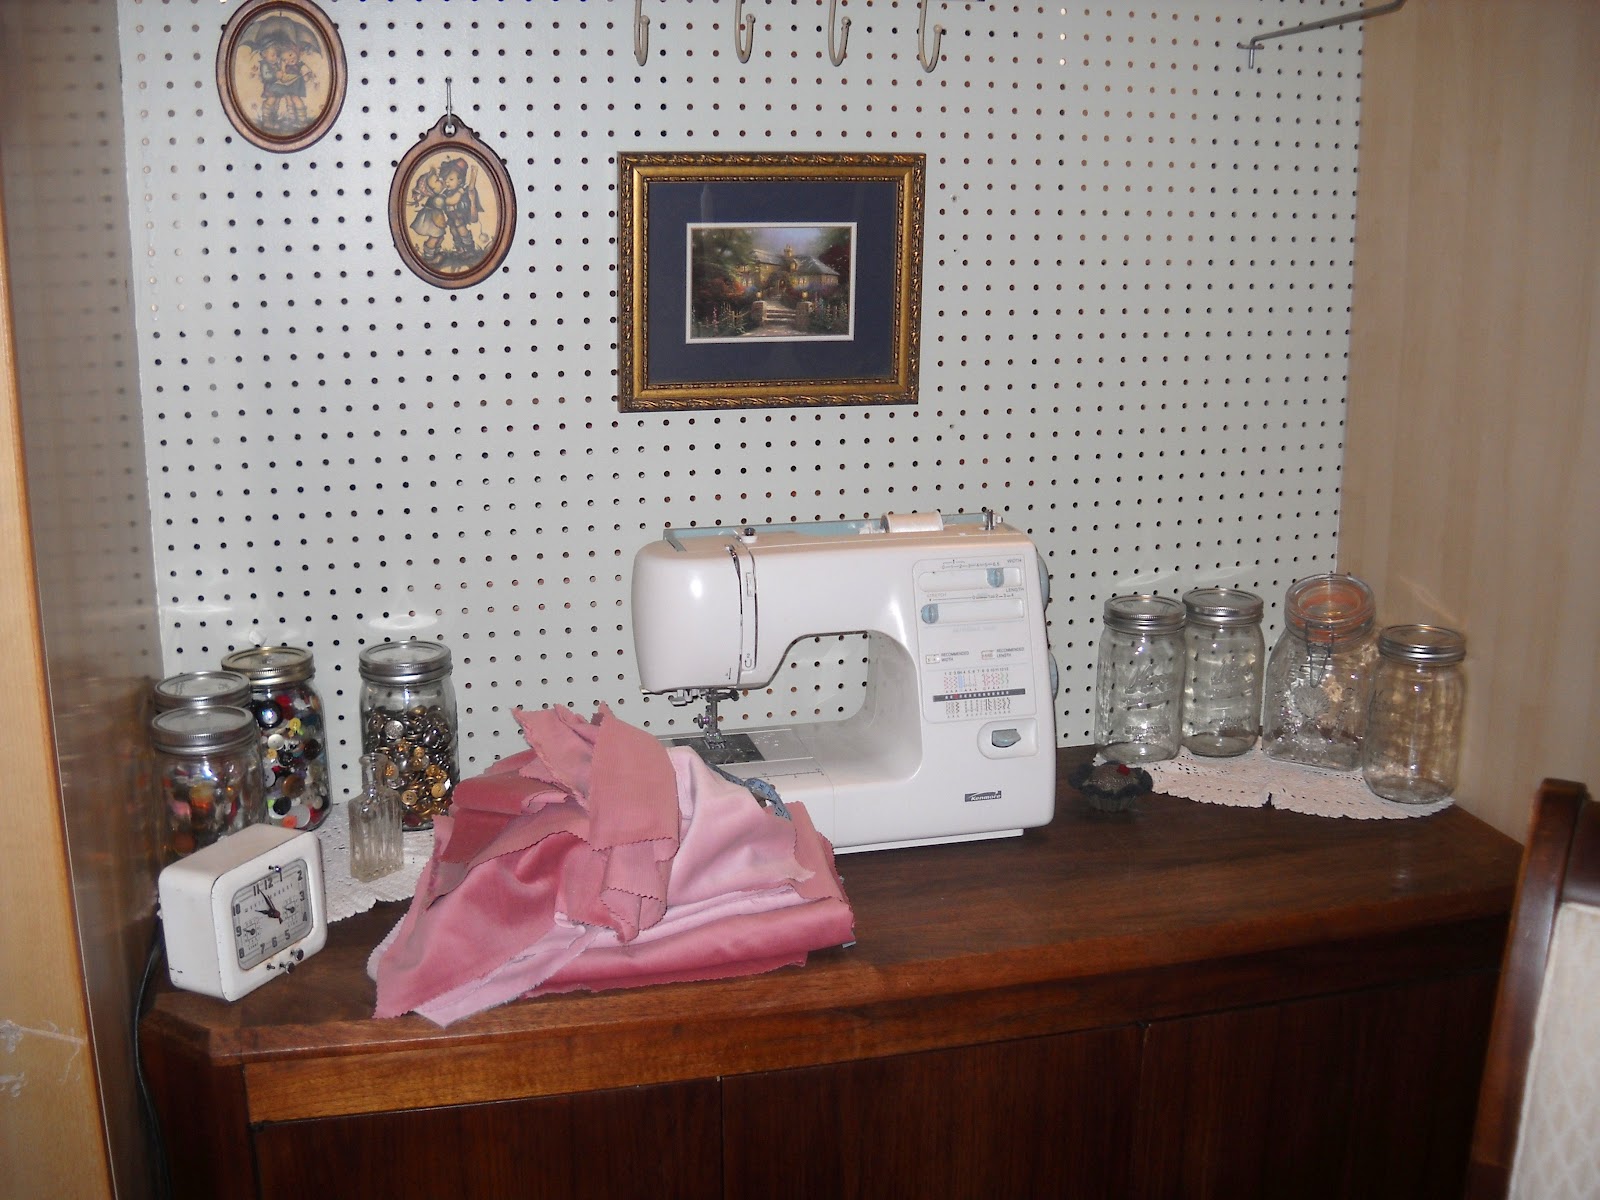
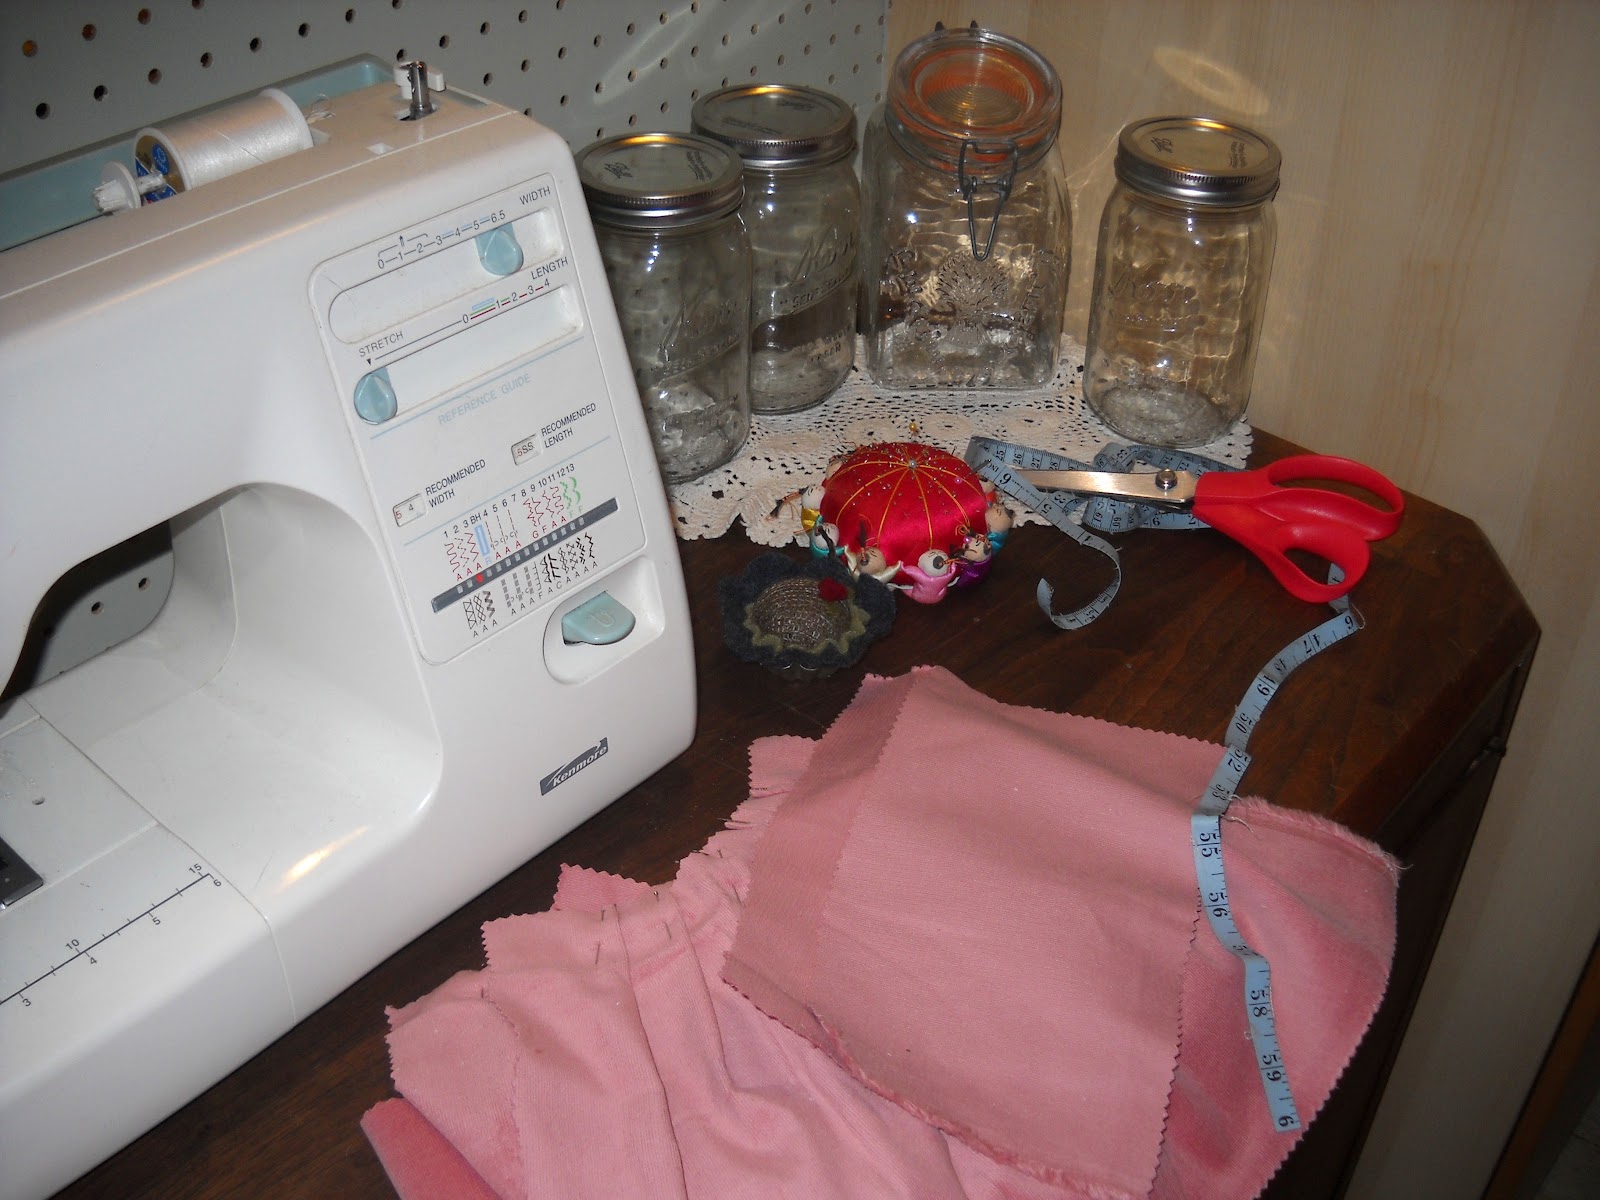
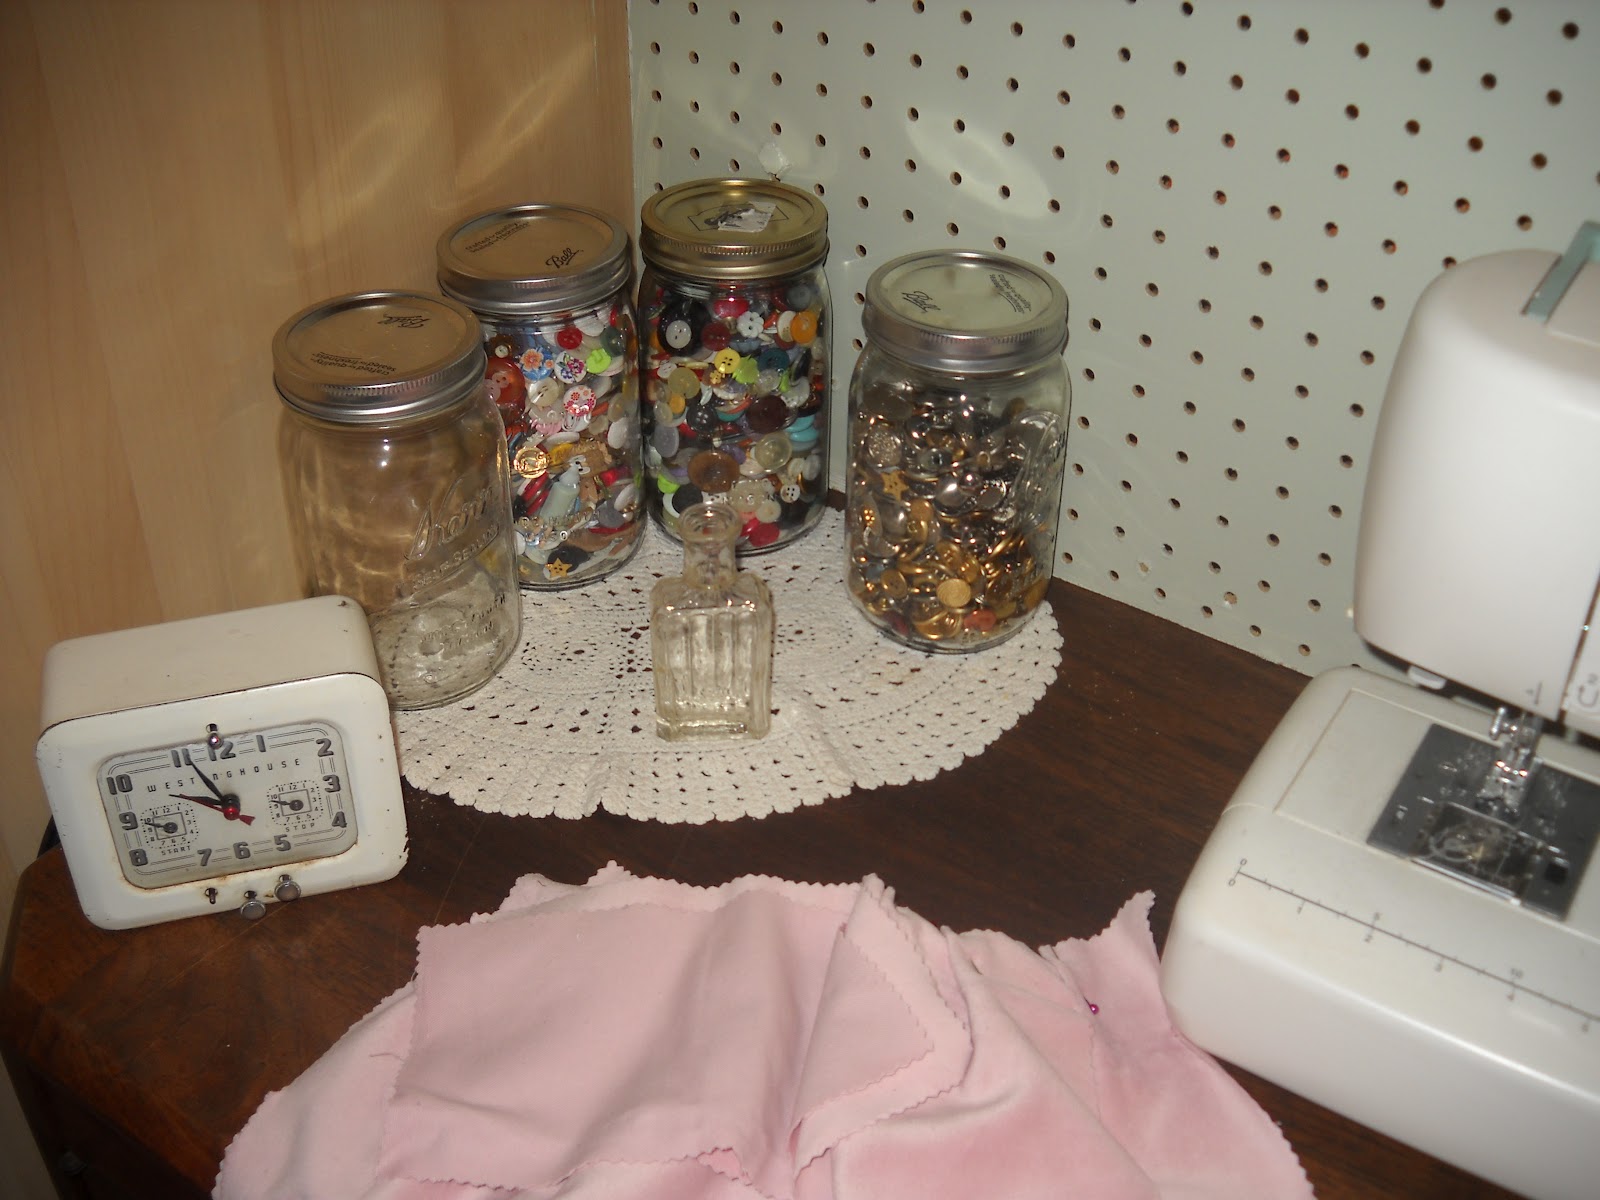
 Not any more--I am happy to say I created an area for my machine. Not an easy task in our bursting at the seams home.


 It certainly doesn't compare to any of the craft areas/ rooms on some blogs but I really am quite happy with my little corner. Even better --I got to actually make something.
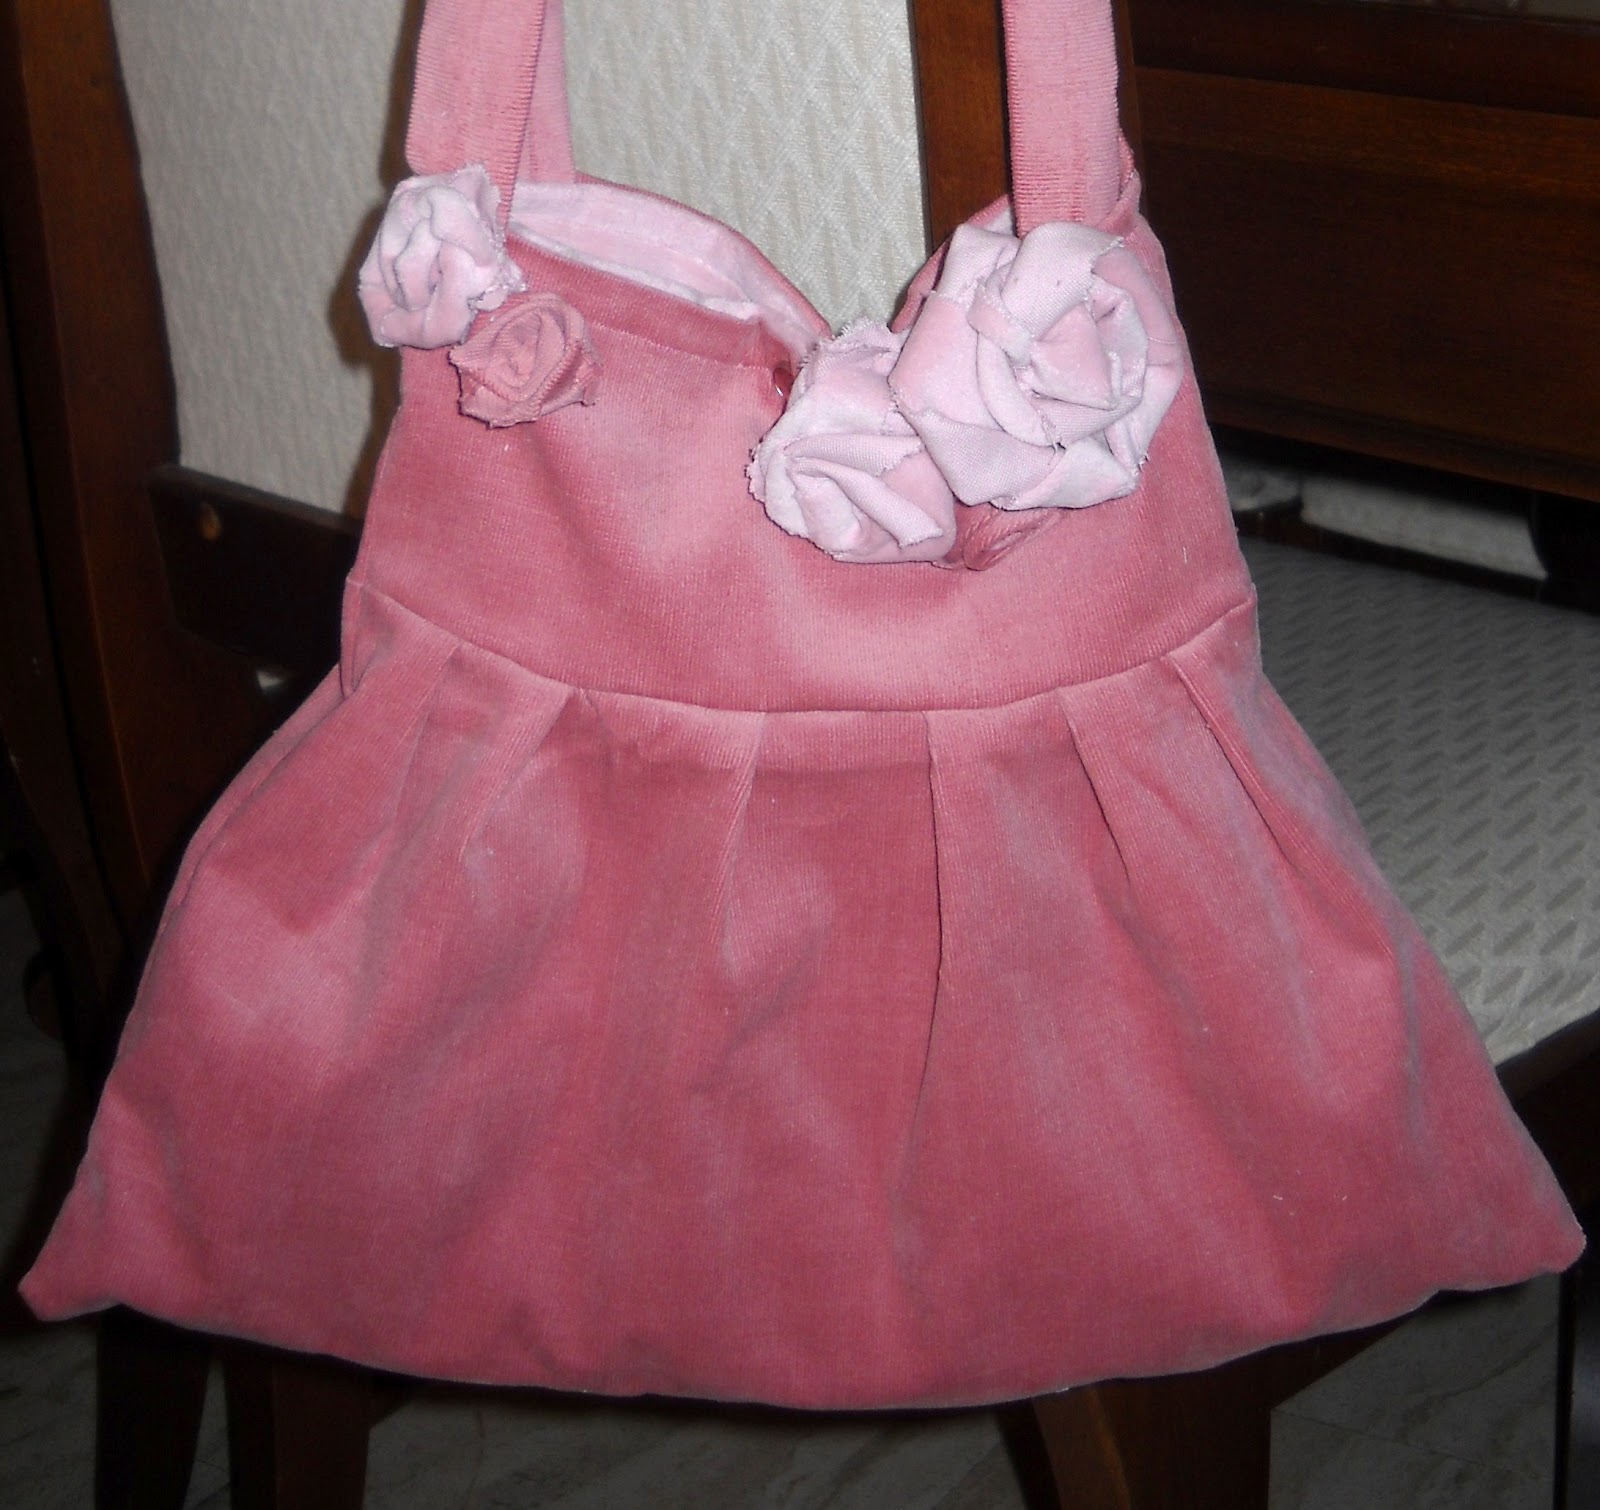
    I needed a gift for my son's lovely girlfriend and since I know she is quite fond of purses I found a super cute little bag to make.


   Of course though Steven no longer is under foot my Kitties were just too enthralled by the new machine to stay away. Stash had to be right in the midst of it all.
    Apples came to see too


   This is the purse and I am pretty pleased with how it came out. My son assured me it was well liked which is the best reward.


  So now my spare moments what are those have been joyously perusing sewing patterns and I have come across some really awesome Must Do's. Don't worry though Crochet will always be my first love

Wednesday, July 18, 2012

Loving Every Minute

 There are times when I love Crocheting even more than I normally do. It fluctuates based on what I am making and who it is for. I have noticed that gift items and Custom Orders increase my pleasure dramatically. Though I enjoy making items to add to my shop something changes when I know it is already spoken for.
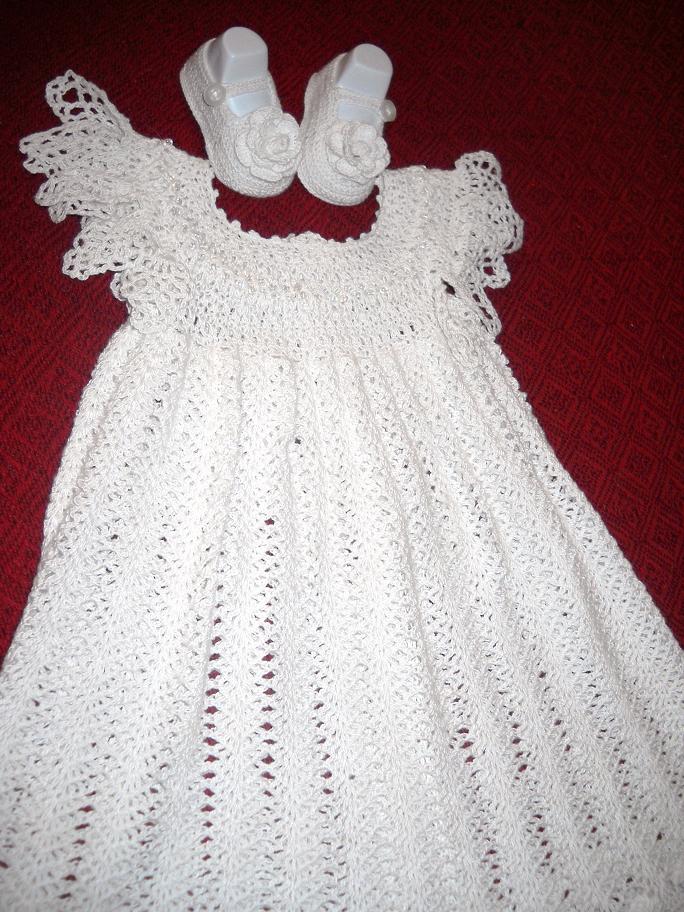
  The last couple of months I have been in Crochet Heaven. A significant number of custom orders and a gorgeous dress are the cause. The dress was a gift for our soon to arrive grand-daughter and it took over 2 months to make. I loved it. 
  It started when I saw the pattern on Crochet Garden's Ad on the Crochet Pattern Directory Page. It was just beautiful and I knew I had to make it. The recipient was easy- Baby Emma due in August. So I begged  asked my Step-daughter if she would like it. She graciously said yes and I was on my way.
  I decided to go all out since I knew it would be quite an undertaking so instead of the regular Cotton Thread I would normally use I splurged on Bamboo Thread. Seriously the difference is amazing. The feel is super soft and the drape is just lovely. My only complaint is that the white isn't super white- almost has an off white look to it. I am attributing this to the nature of the material.
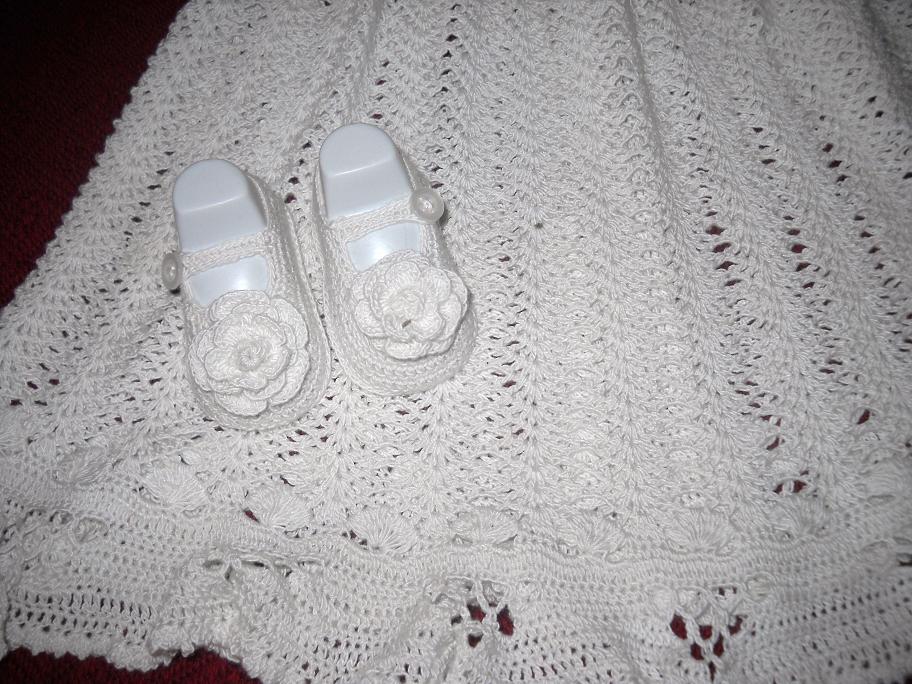
  Of course any well dressed girl must have the proper shoes for her outfit and so I needed something a bit more special to wear with this dress. I am an avid lover of Irish Crochet and so the idea to add an Irish Crocheted Rose to the top of Mary Jane style booties seemed perfect.
  I am very happy with the end result. As most creators, there are things I would change or do differently next time but overall I couldn't be more pleased. Most importantly Stephanie loved it.